Find the Instructions for Your Panels
Start with the manufacturer and range of the boards fitted in your bathroom. Different faces and textures can have different cleaning restrictions, so generic bathroom advice may not be suitable. Keep the care sheet with the quote or ask the installer for a copy. If you have moved into a home with existing panels, look for product information before using a strong cleaner. A printed marble effect should not automatically be treated like natural marble. The relevant instructions are those for the actual panel finish and the seals used with it.
Make Regular Cleaning Easy to Keep Up
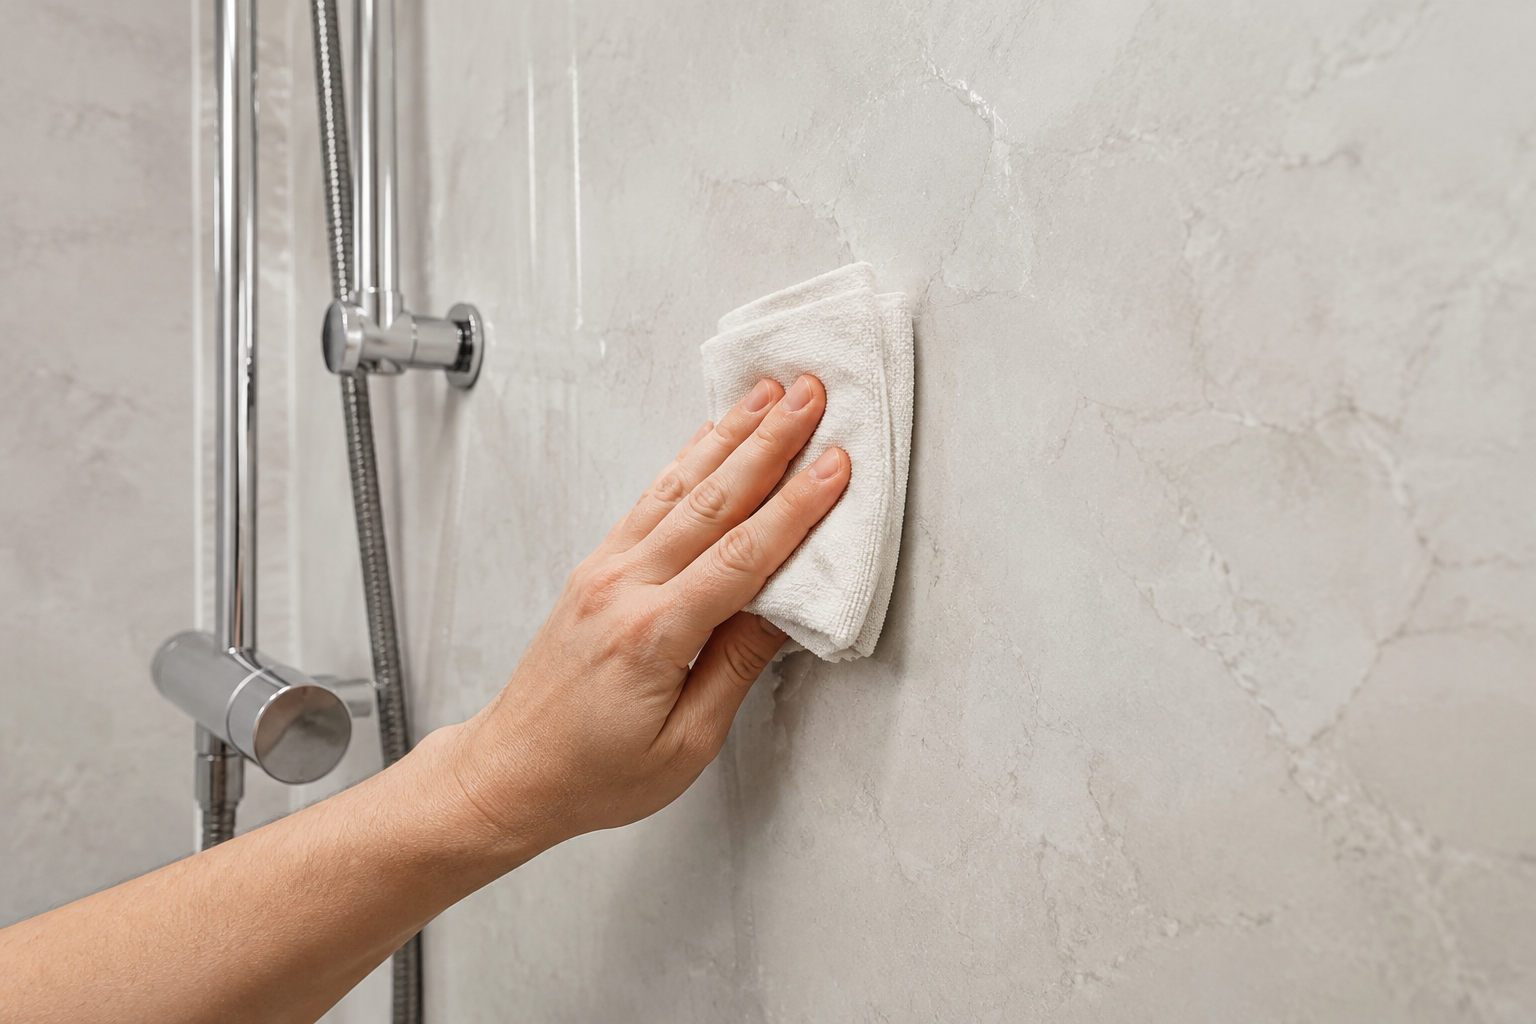
A short, consistent cleaning routine is usually more manageable than waiting for heavy soap residue to build up. Use the materials and cleaner allowed by the product guidance, commonly a soft cloth and a mild non-abrasive cleaner where approved. Work around taps, screen edges and the lower panel carefully. Keep bottles in accessible storage so the wall can be reached without moving a large collection every time. The panels may reduce grout cleaning, but water marks and soap still need attention. Plan a routine the household can realistically follow rather than relying on an occasional harsh scrub.
Rinse and Dry Where the Product Allows
Cleaning products left on the surface can create streaks or residue. Follow the care sheet on rinsing, then use an appropriate soft drying cloth if recommended. Pay attention to ledges and fittings where water sits after a shower. Do not direct water into gaps or openings that appear damaged. A squeegee may be useful on some smooth surfaces, but check that its edge is clean and suitable so grit does not scratch the finish. The objective is gentle removal of residue, not repeated abrasive treatment to restore a surface that has been allowed to become heavily coated.
Avoid Guessing with Strong Products
A cleaner that works on ceramic tiles may not be suitable for a panel face or its seals. Abrasive powders, scouring pads and solvents can damage some finishes. Check the exact product guidance before using bleach-based or specialist limescale cleaners. Do not mix cleaning chemicals. If you are unsure how to remove a mark, ask the panel supplier rather than experimenting on the most visible part of the wall. A hidden test area is not permission to ignore the manufacturer’s restrictions; it cannot prove that repeated use will be safe for the whole installation.
Clean Panel Joints Gently
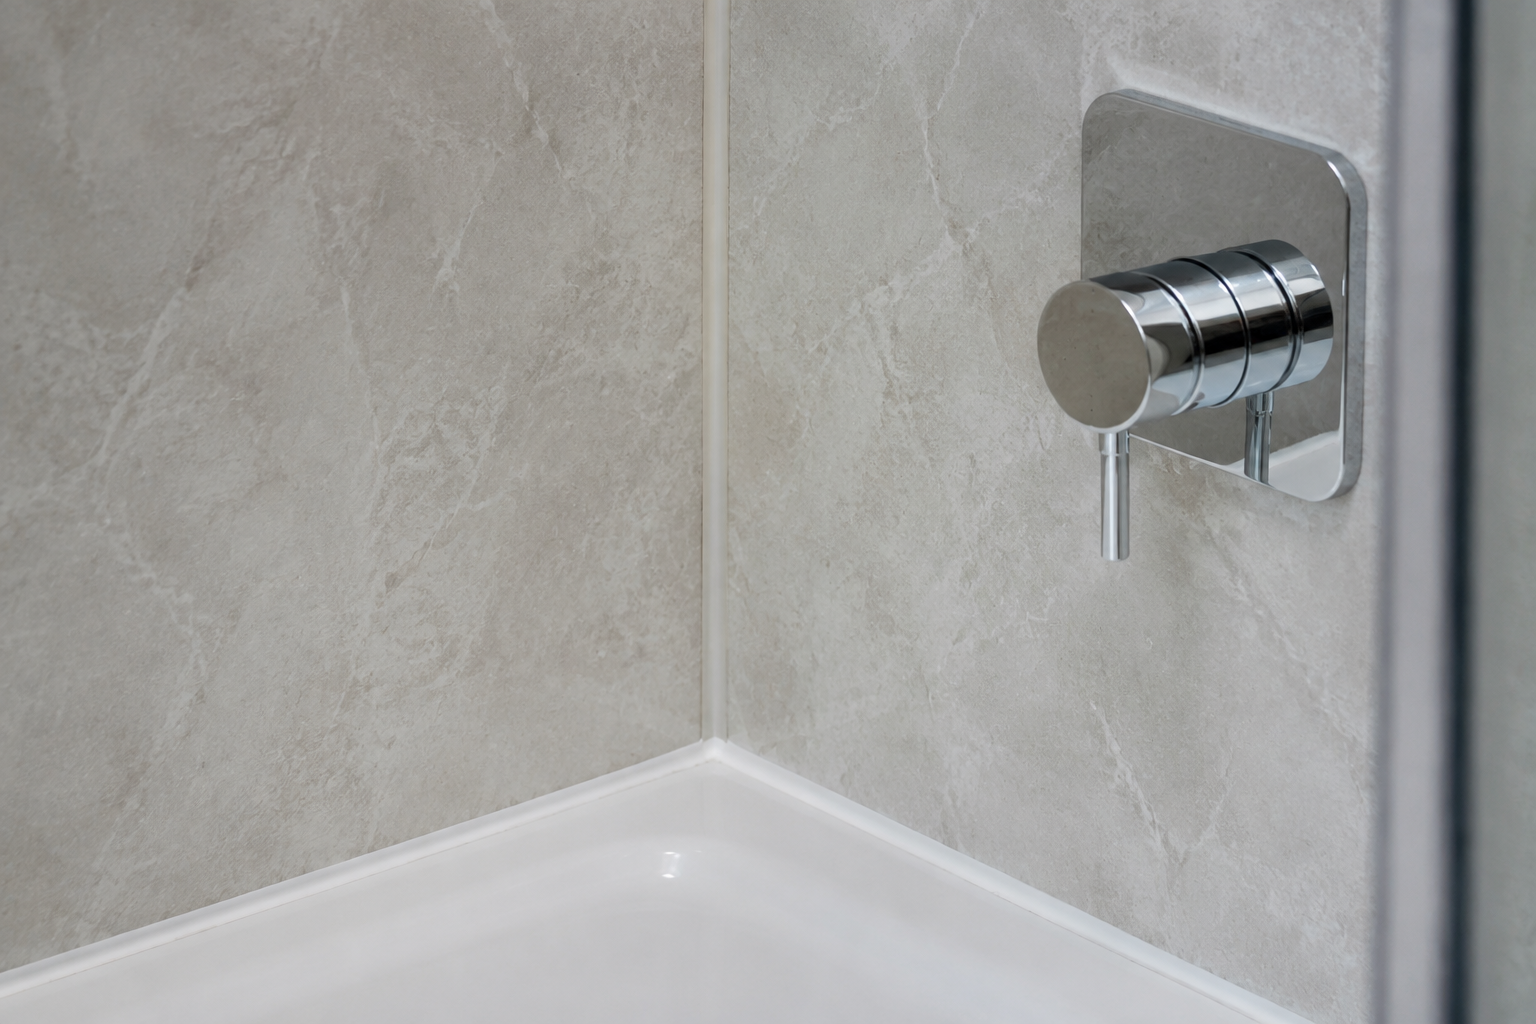
The corners and edges beside the bath or tray need cleaning, but they should not be scraped with sharp tools. Look for lifting, cracks or gaps while wiping them. Soap residue and staining can collect where access is poor, so keep the screen and furniture layout in mind when planning a new room. If a seal looks damaged, avoid disguising it with another layer of product without checking the cause. The panel face may still look good while a failed connection allows water behind it. Report the change and keep the area under review until it is properly assessed.
Keep Ventilation Working
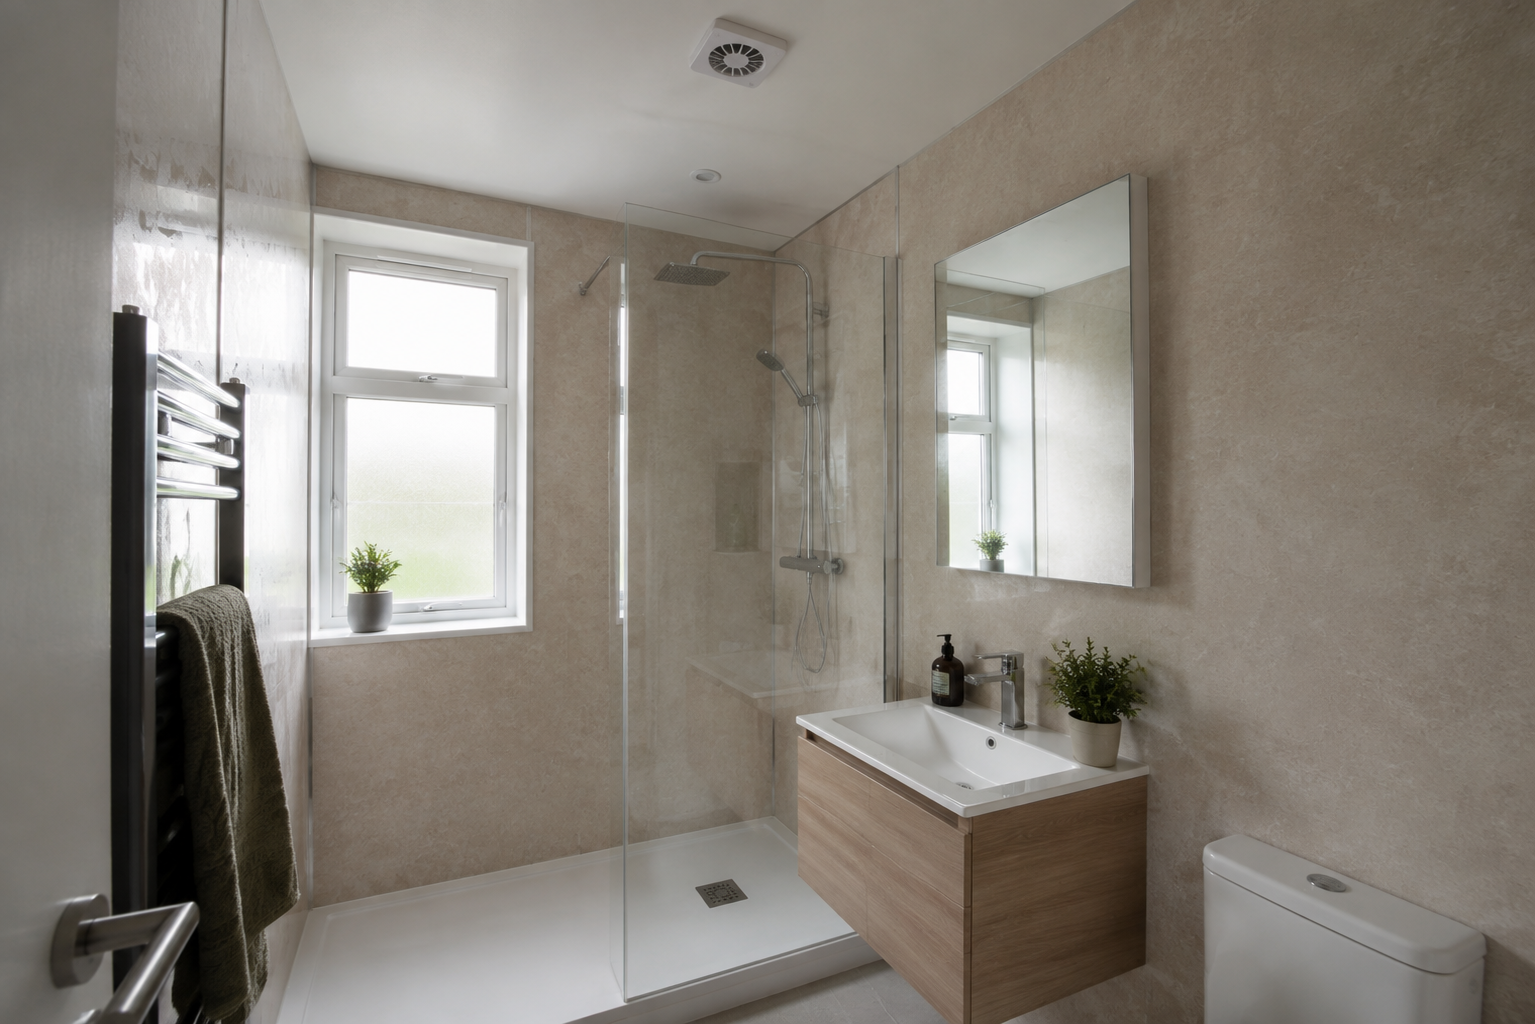
Wall panels do not remove shower moisture from the air. Use the room’s ventilation as intended and keep accessible fan grilles clear according to the appliance instructions. Do not attempt electrical maintenance unless you are qualified to do so. If condensation or staining keeps returning, arrange an appropriate check of the ventilation and any possible leak. Opening a window may help in some circumstances, but it does not establish that the installed extraction is adequate. Cleaning the visible surface repeatedly is unlikely to solve a persistent moisture problem whose cause has not been addressed.
Deal with Spills and Unusual Marks Promptly
Hair products, dyes and other household items can leave marks that differ from ordinary soap residue. Follow the panel guidance on dealing with spills and avoid leaving products resting against the wall for long periods. If the mark remains, note what caused it and ask the supplier for advice. Rubbing harder can make the damage worse on some surfaces. Keep photographs if you need to explain the issue to the installer. A clear description of the product involved and the steps already taken is more useful than trying several unrelated cleaners before asking for help.
Know When Cleaning Is Not the Answer
Swelling, soft areas, loose boards or repeated staining around a joint may indicate damage rather than dirt. A panel that changes shape or moves should be assessed instead of polished or painted over. If there is an active leak, stop using the affected fitting where necessary and arrange suitable help. Do not drill a hole to investigate behind the panel yourself. The cause may involve plumbing, support or a failed seal. Cleaning advice is intended for an intact surface; it cannot repair a wall or connection that is allowing water into the wrong place.
Keep a Simple Care Record
Store the panel range, colour, cleaner guidance and any guarantee terms together. Note repairs and the products used so future work can be matched to the original system. If a cleaner has been approved by the manufacturer, keep that information rather than relying on memory. At handover, ask when new sealant can first get wet and how the installer wants you to report any problem. A bathroom with fewer grout joints can be straightforward to maintain, but its useful life still depends on sensible cleaning, working ventilation and prompt attention to changes in the joints or finish.