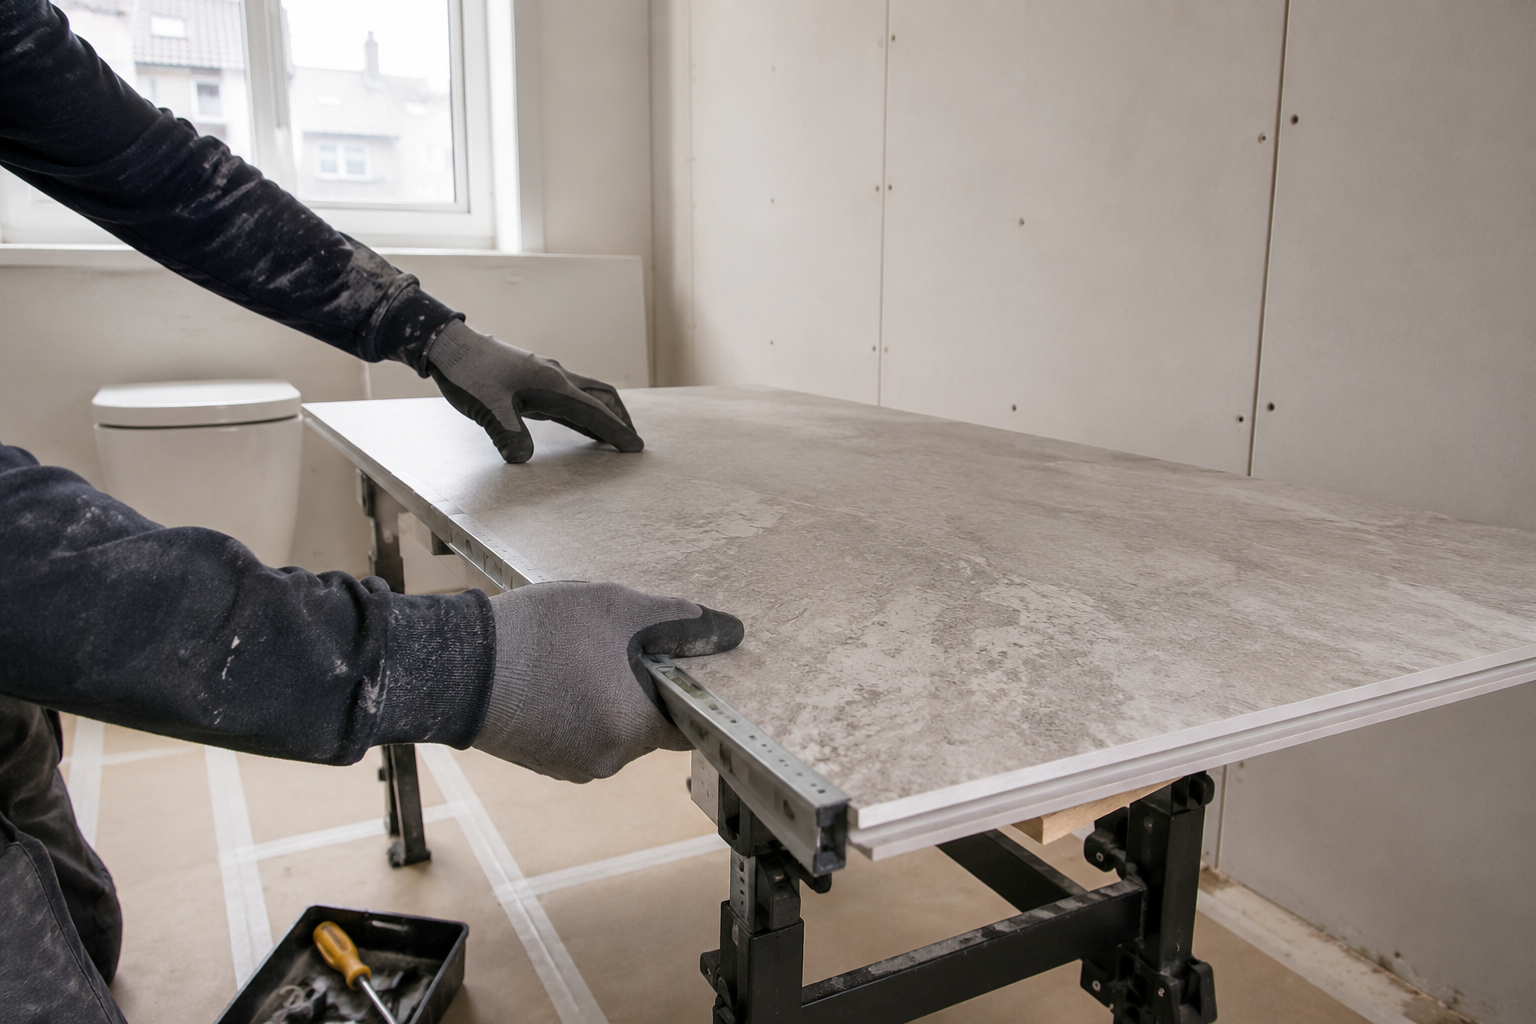
Agree What the Installation Includes
Before fitting starts, confirm which walls receive panels and which bathroom products are being replaced. The plan should show panel heights, windows, doors and any fittings that need removing for access. Ask who handles plumbing, electrical work and waste disposal where these form part of the job. A panel installation can be a shower refresh or one stage of a complete refit, so the phrase alone is not enough. Keep the accepted quote and product choices together. This gives you a clear reference when checking the work and discussing any change during installation.
Protect the Route to the Bathroom
Boards and fittings need a safe route from delivery to the room. In an upper-floor Edinburgh flat, that includes the entrance, stair turns, landings and doorways. Protection of shared areas and the route through the home should be agreed before materials arrive. Check where boards can be stored according to their instructions without blocking access. A large panel can be awkward to handle even if its final wall position is simple. Planning delivery and storage helps avoid damaged edges, last-minute cuts or materials left where they interfere with normal household movement.
Remove the Agreed Old Materials
The installer takes out the fittings and wall finishes identified in the plan. Some systems may allow sound tiles to remain, while other walls need stripping back. Removal is also the stage when previously hidden damage can become visible. Ask to be shown any problem that changes the agreed work and have the repair explained before approving it. The objective is to leave a suitable base for the chosen panel system. New boards should not be used as a convenient cover for an active leak, loose plaster or other unresolved damage.
Prepare the Wall and Fixing Points
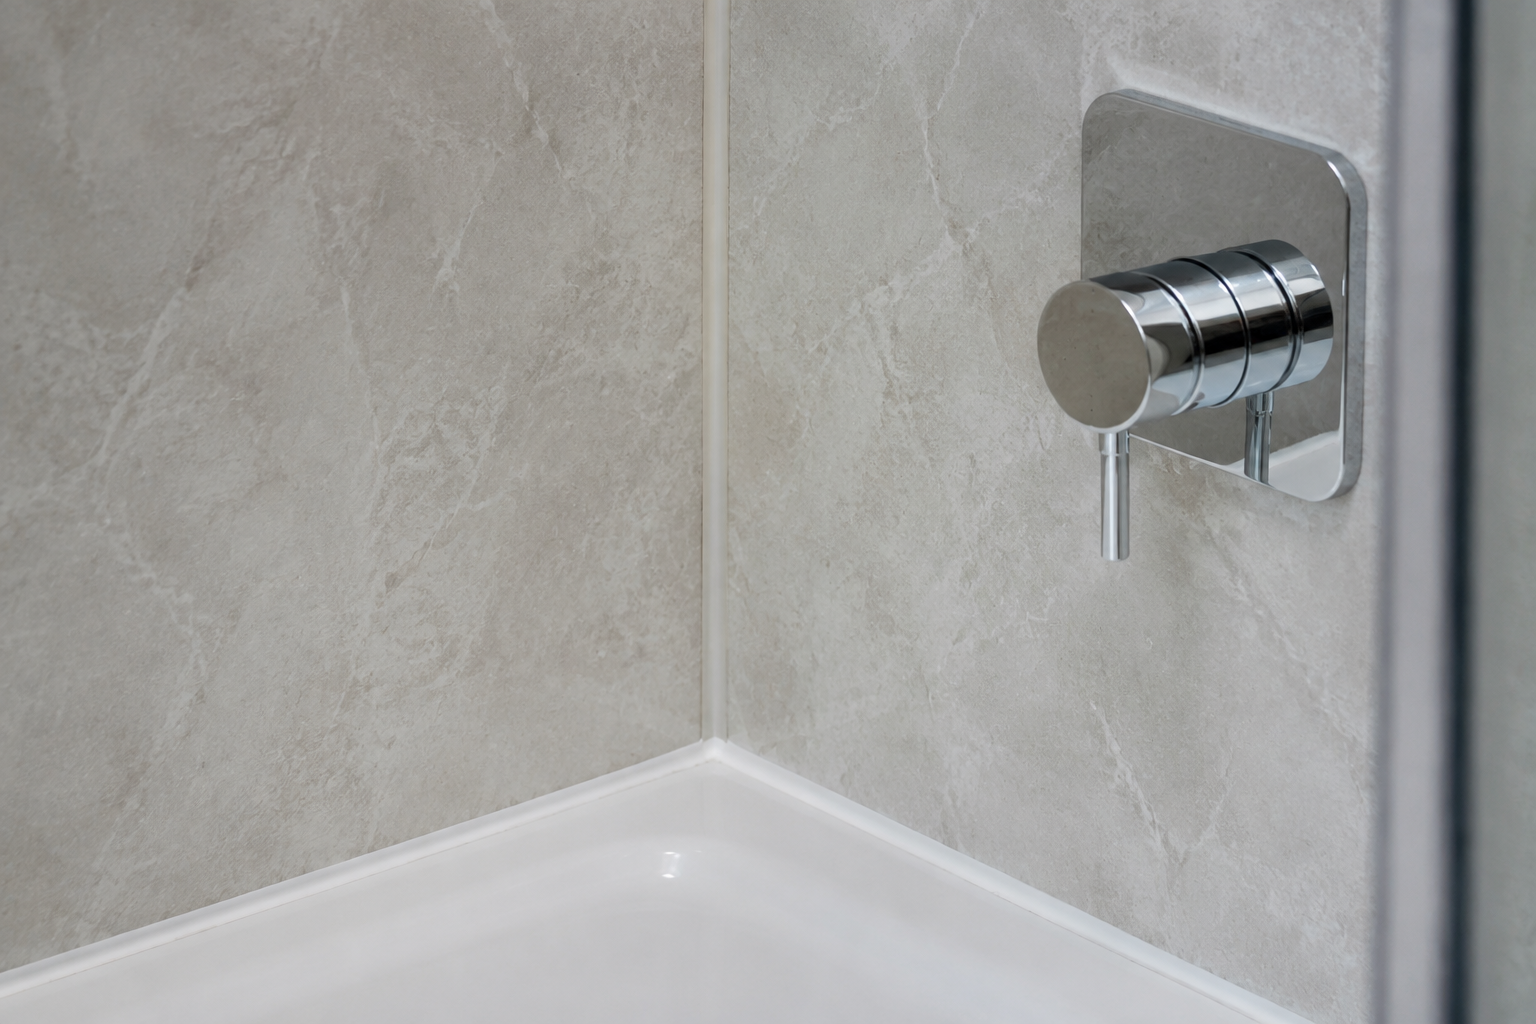
The product instructions explain how flat, firm and dry the wall must be before fitting. Preparation may involve repairs or a suitable supporting method, depending on the system. Positions for shower screens, cupboards, rails and seats need secure fixings behind the decorative finish. Those supports are easier to plan before panels close the wall. Ask where service access will remain, particularly around valves or boxed-in pipes. Keep a record of these access points. The installer must follow the instructions for the exact panel range, including the adhesive, seals and fixing method.
Plan Board Positions and Patterns
The panel layout is worked out before final cutting. Board widths, corners, windows and tap openings all affect where joints will sit. Large marble veins or printed tile lines may need additional attention so the pattern looks deliberate. The fitter can check pieces in position before fixing them permanently. Ask any appearance questions at this stage, especially about visible joins and trim colours. Once boards have been cut or bonded, changing the layout can mean replacing material. A few clear decisions before fixing help connect the sample you chose with the wall you will actually see.
Cut and Fit the Chosen System
Different boards require different cutting, adhesive and joining methods. The installer should use the tools and products specified for the range, protect the face and check measurements around openings. Cut edges may need particular treatment before they are enclosed. Avoid assuming one brand’s method applies to another. The same printed finish can appear on boards with different cores or connections. If you want to understand the work, ask which guide the fitter is following and keep a copy with the product information. It should identify the actual panel system listed in your quote.
Seal Corners, Openings and Lower Edges
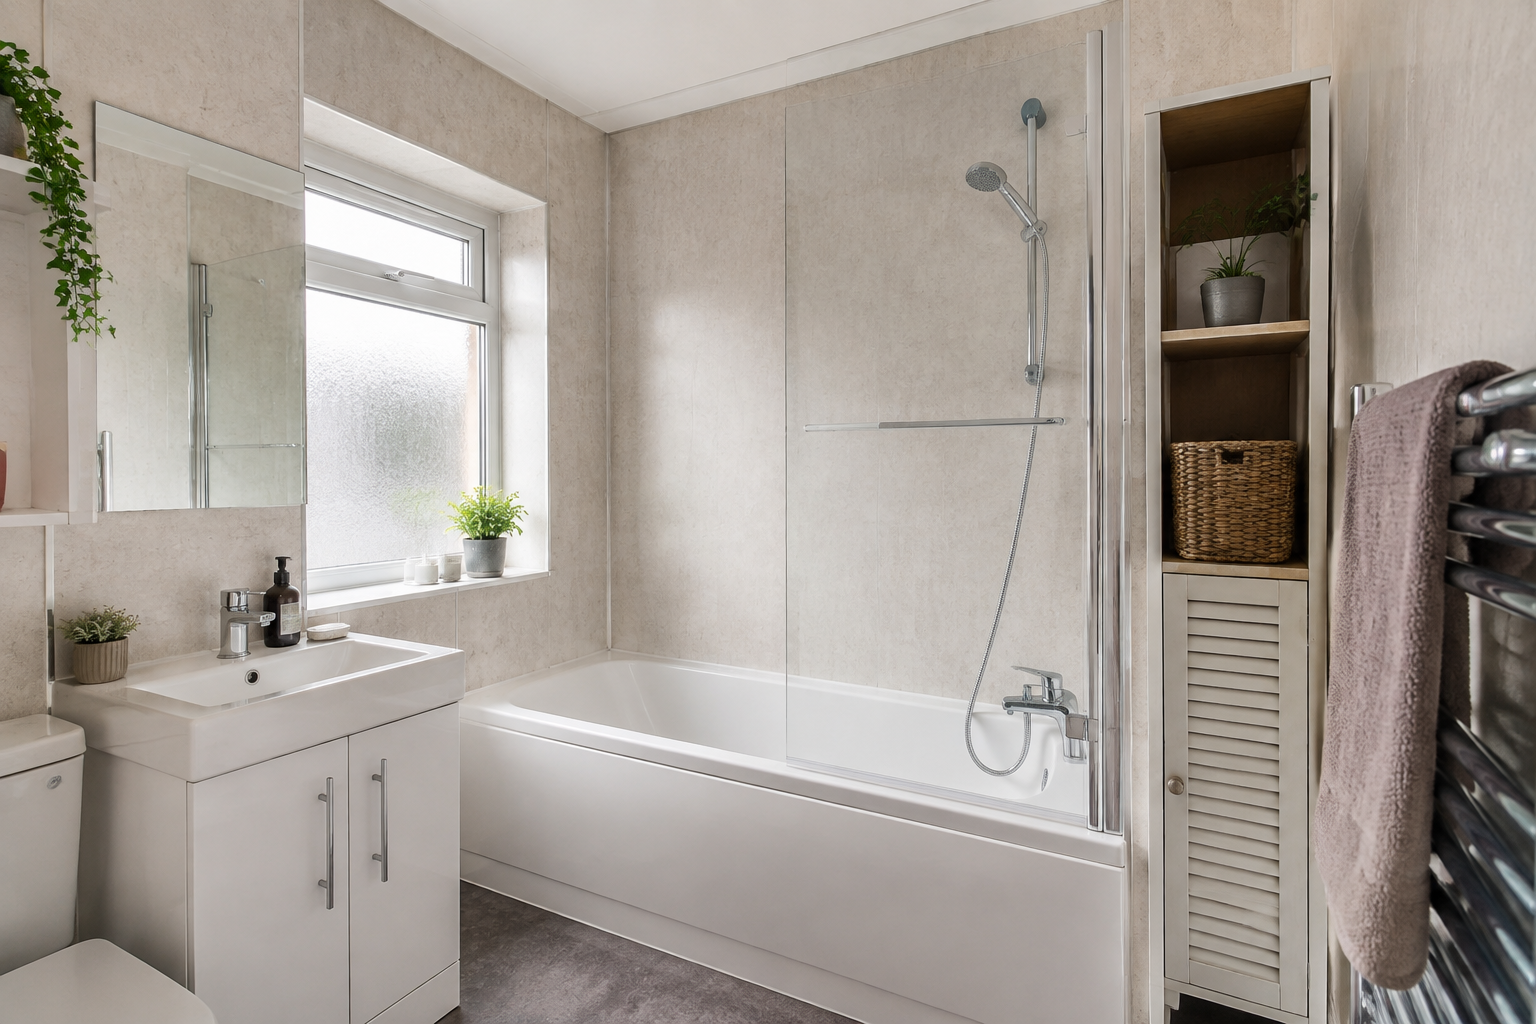
The panel face alone is not the complete waterproofing detail. Joints, pipe openings and connections beside the bath or tray need the specified seals. Screens and other fittings should be secured and finished without creating paths for water behind the boards. Ask how the product instructions treat each edge rather than expecting one bead of sealant to solve every connection. A bath or tray that moves may need attention before sealing. These details are worth discussing because they can be difficult to inspect or repair once the rest of the bathroom has been fitted around them.
Let Adhesive and Sealant Set Before Use
Adhesives and sealants may need time before the shower is used or the work is put under strain. The waiting period depends on the actual products and conditions, so ask for a clear instruction at handover. Do not assume the bathroom is ready for water as soon as the fitter leaves. If it is your only bathroom, discuss temporary use before the job starts. Planning around those limits is more useful than pressing for a finish date that ignores them. Keep the instructions somewhere easy to find so everyone in the household knows when normal use can resume.
Check the Finished Room Together
Walk through the agreed work with the installer. Look at visible joints, trims, openings and the fit around the bath, tray and screen. Confirm that accessories and access panels work as intended and raise any unfinished item while it is easy to identify. Keep the panel range, colour, care instructions and any supplied guarantee terms. Ask which cleaners are suitable and what signs of damage should be reported. A useful handover leaves you knowing what has been fitted, how to look after it and who to contact about the agreed installation.