The Panel Face Is Only Part of the Wall
A waterproof decorative face does not explain how a complete shower wall keeps water out. Boards meet other boards, turn around corners and finish beside trays, baths and windows. Pipes and fixings pass through them too. Each connection needs the detail specified for the chosen system. When comparing products, ask to see the joint and trim options rather than looking only at the main surface. These pieces affect appearance and performance. Understanding their roles helps you ask useful questions without needing to learn every technical term used by the installer.
How Boards Join Along a Wall
Some panels have shaped edges that fit together; others use separate connecting pieces. The joint may be deliberately visible or designed to look less obvious. Check how the exact range works and whether its colour or pattern continues across the join. Do not assume a joint described as seamless means there is no connection to fit or maintain. Ask how it is sealed and which products are required. The installer should follow the manufacturer’s method for that board, especially where the joint is in a shower or another area regularly exposed to water.
What Corner Trims Do
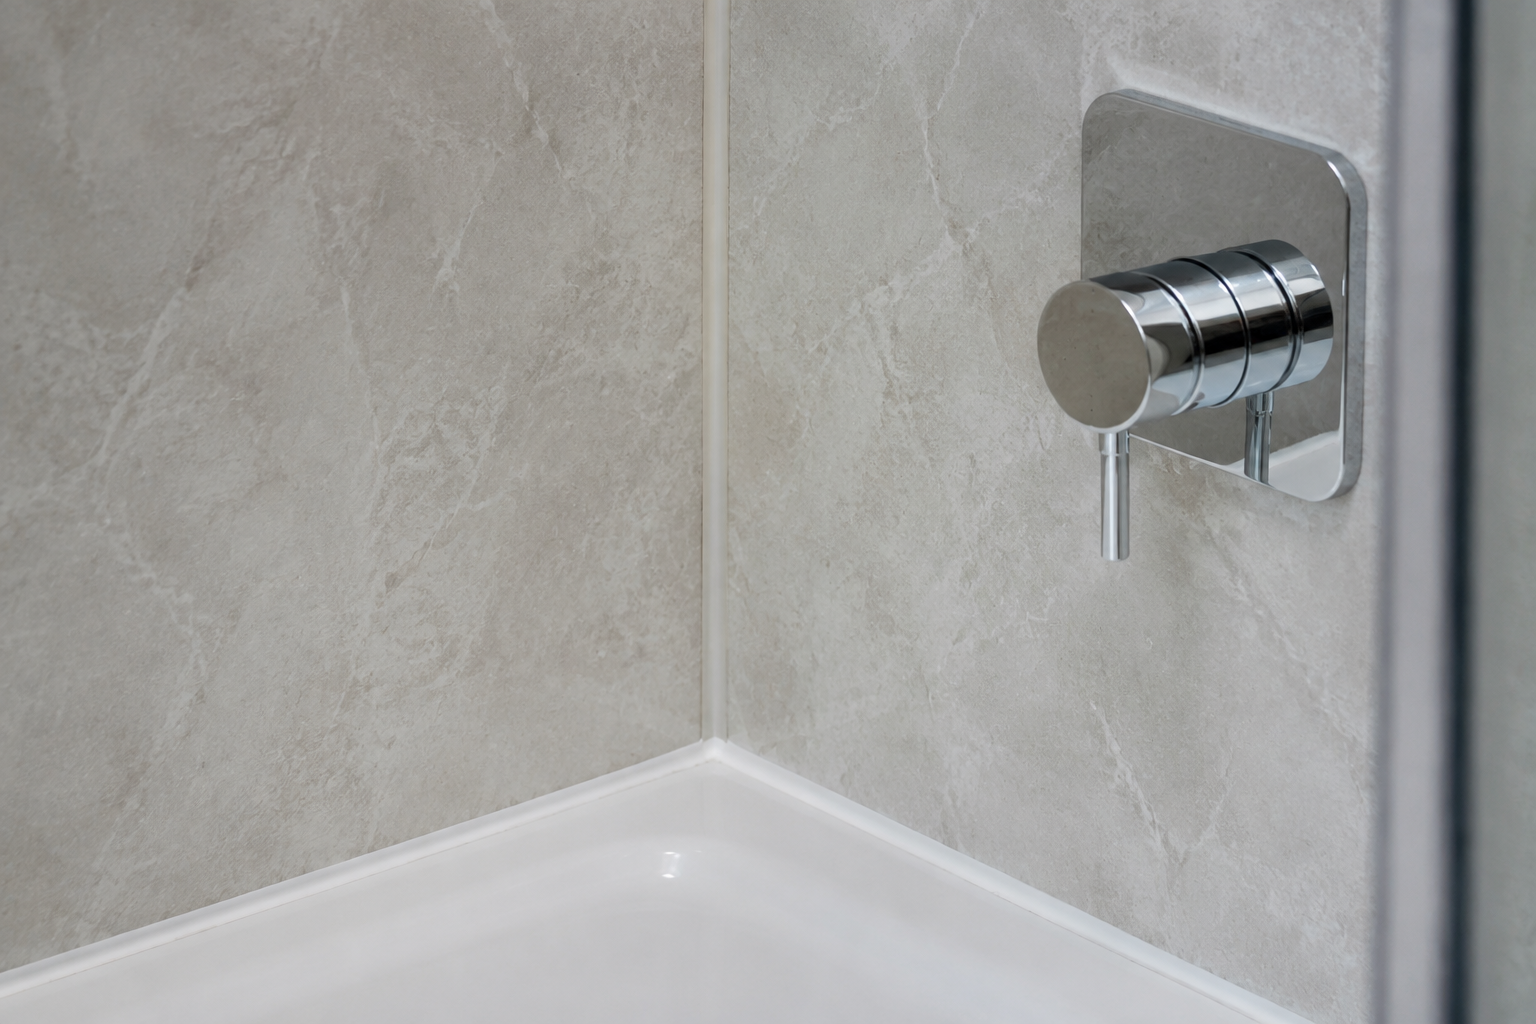
An internal corner is where two walls meet inward, while an external corner projects into the room. Different trim shapes may be needed for those positions. The trim must suit the panel thickness and system, not just the colour you like. Ask how it will look around boxed-in pipes or a window recess as well as the main shower corner. A sample can help you see the width of the visible face. Choosing these details before ordering avoids leaving the fitter to find an approximate match after the wall finish has already been selected.
Finishing an Exposed Panel Edge
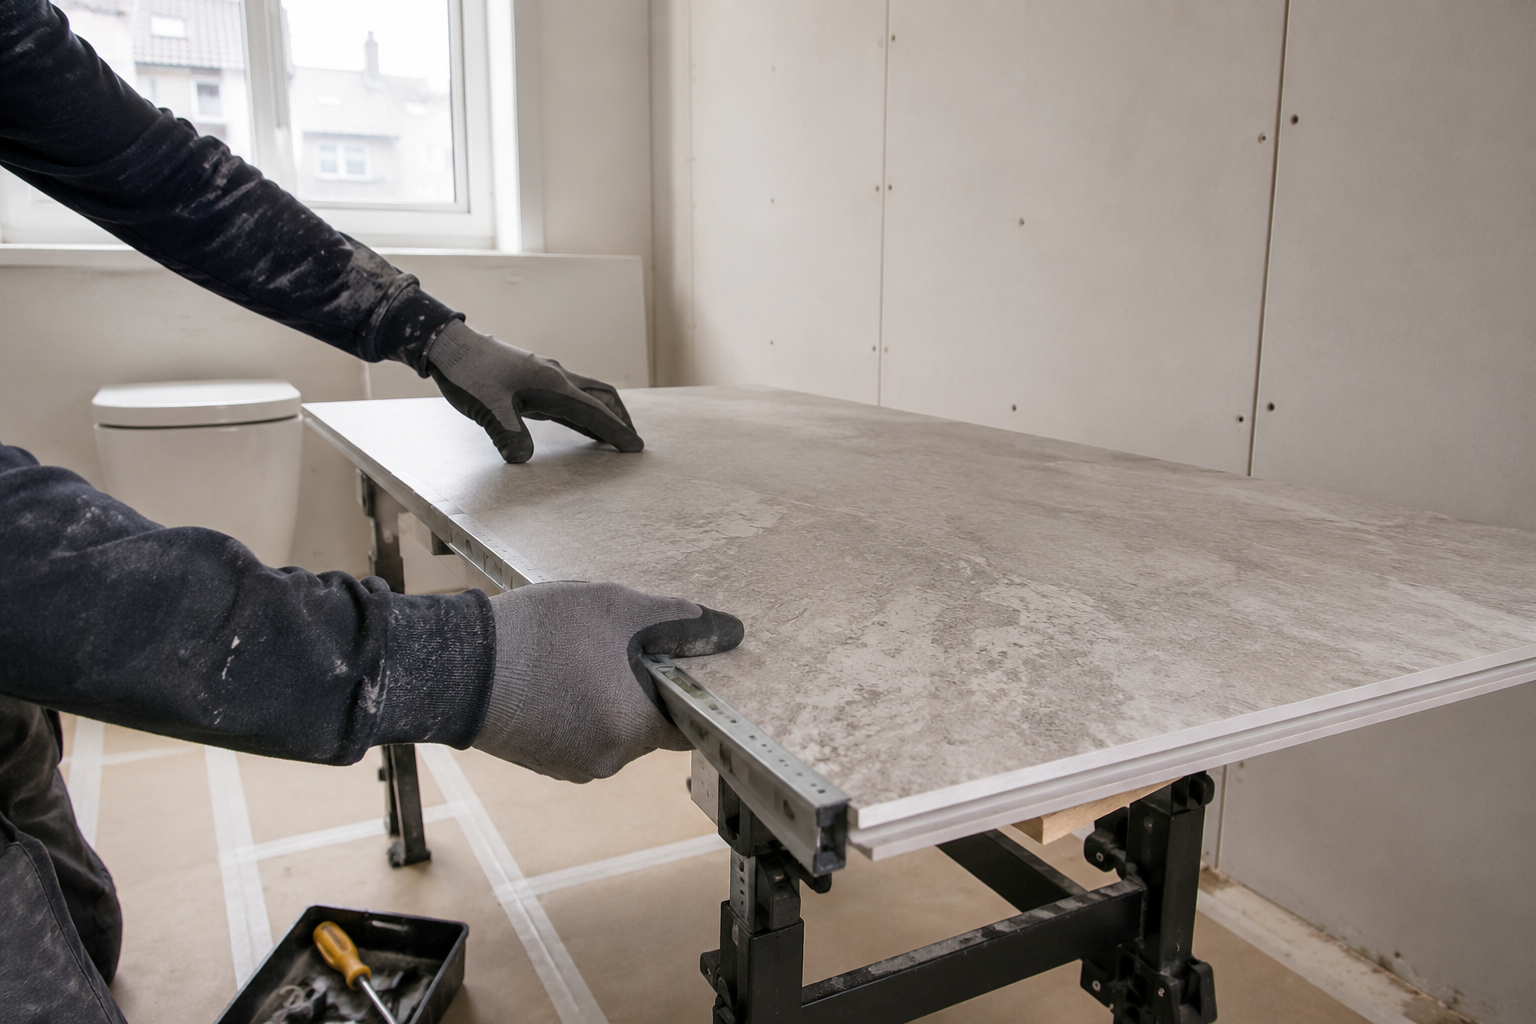
A panel that stops beside paint, tiles or a doorway may need an end trim or another approved edge detail. The board core should not be left exposed where the system requires it to be protected. Check how much the new wall face projects beyond the adjoining surface. This matters particularly when panels are fitted over existing tiles. The finishing piece should cover the edge neatly without creating an awkward ledge or gap. Agree the stopping point and trim colour on the room plan so the final join looks intentional and can be reached for cleaning.
The Seal Beside a Bath or Shower Tray
The lower edge is regularly exposed to water and movement, so it deserves careful planning. The bath or tray must be suitably supported and the panel system’s connection detail followed. A visible bead of silicone is not a substitute for the rest of that arrangement. Ask how the old seal will be removed if existing fittings are staying and whether the screen needs taking off for access. If a seal repeatedly splits, the cause should be investigated. Simply adding another layer over a failing joint may hide the symptom without addressing movement or leakage.
Openings Around Taps and Fixings
Shower controls, pipework and accessories create holes through the finish. Those openings need the specified treatment to stop water reaching material that can be damaged by water behind the face. Fixings for screens, rails and cupboards also need firm fixing points in the wall. Ask where those items will sit before the panels are cut. A late change in position can leave an unnecessary hole or require a replacement board. Keep a record of any hidden support that has been installed. This is useful if an accessory needs changing later and helps avoid drilling into the finished wall without knowing what is behind it.
Why the Sealant Choice Matters
Different systems specify particular sealants or compatible products. The word silicone on a tube does not establish that it is correct for every panel face, core or joint. The installer should check the manufacturer’s instructions and use the required preparation and curing time. Ask for the product details with the handover information. This is especially helpful if a small repair is needed later. Do not choose a replacement sealant solely because its colour matches the old one. Compatibility and the cause of the failure matter as well as the appearance of the finished bead.
Checking Joints During Routine Cleaning
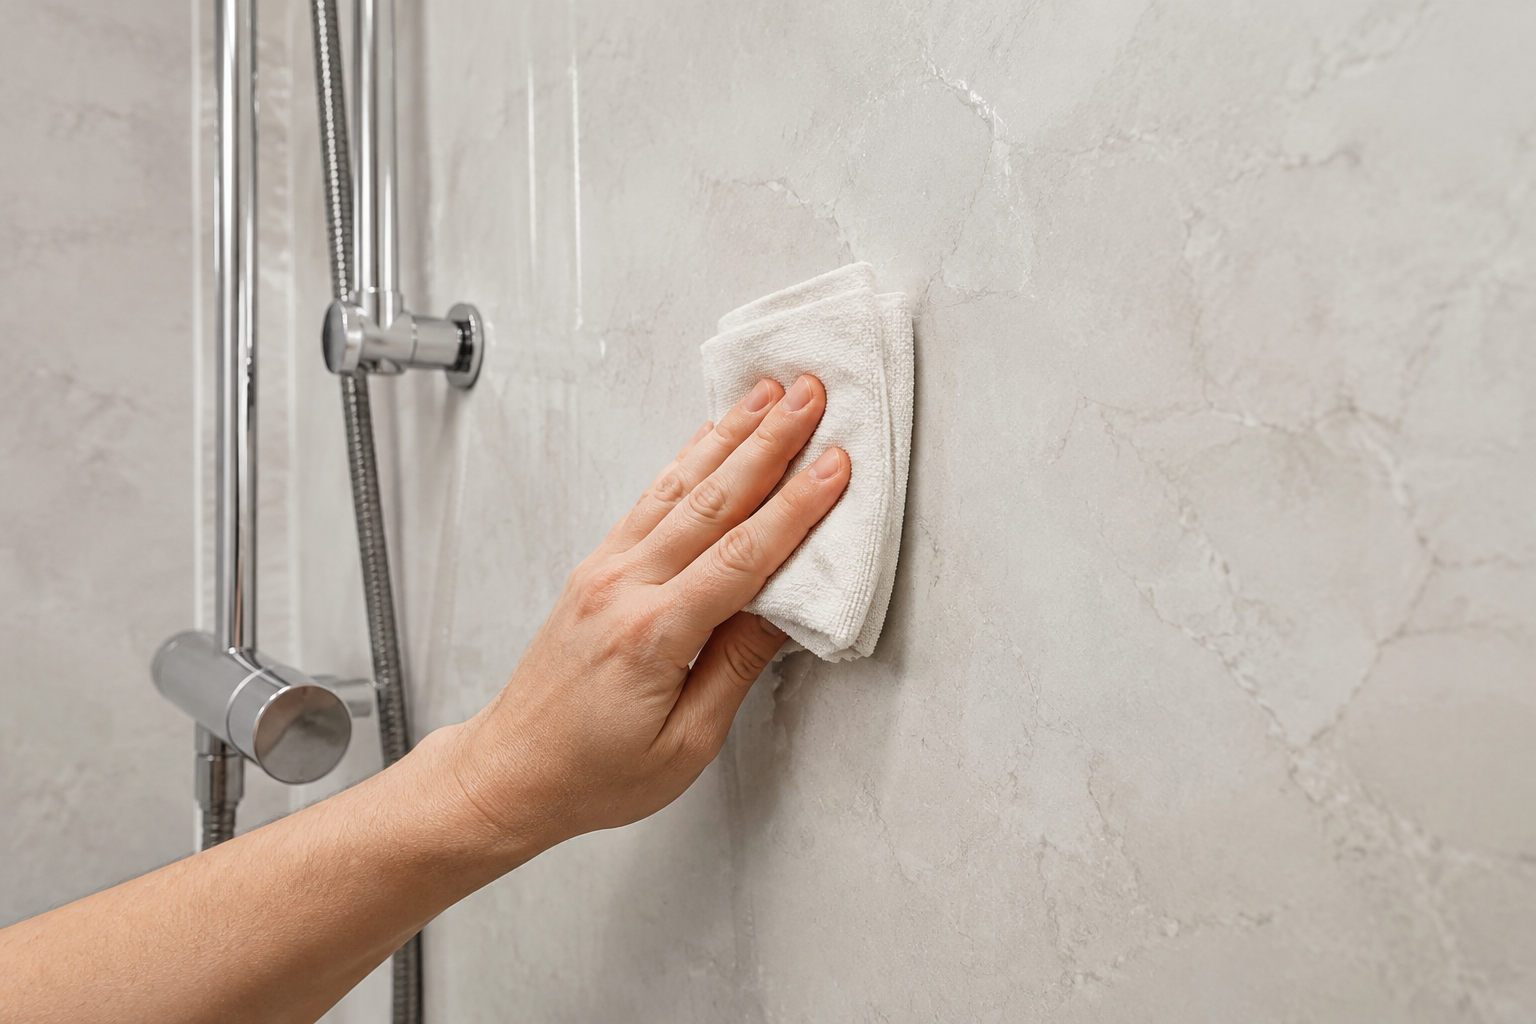
While wiping the bathroom, look for gaps, lifting edges, splits or changes in colour around the panel joints. Notice whether a panel feels loose or whether staining returns soon after cleaning. These signs do not all mean the same problem, but they are worth reporting before damage spreads. Follow the care instructions and avoid scraping or picking at seals during cleaning. If water appears outside the shower or below the room, investigate promptly with appropriate help. Keeping the panel range and installer details handy makes it easier to explain which system needs attention.
Agree Repairs Before Covering the Problem
A damaged seal may be a straightforward maintenance task, or it may point to movement, a leak or material damage behind the panel. Ask for the cause to be checked before agreeing a cosmetic patch. The repair plan should explain what will be removed, how the joint will be cleaned or rebuilt and when it can get wet again. If a trim or board must come out, discuss matching replacements. Good maintenance is not about repeatedly adding visible sealant; it is about restoring the intended connection and understanding why it failed in the first place.