Decide Which Walls Need Panels
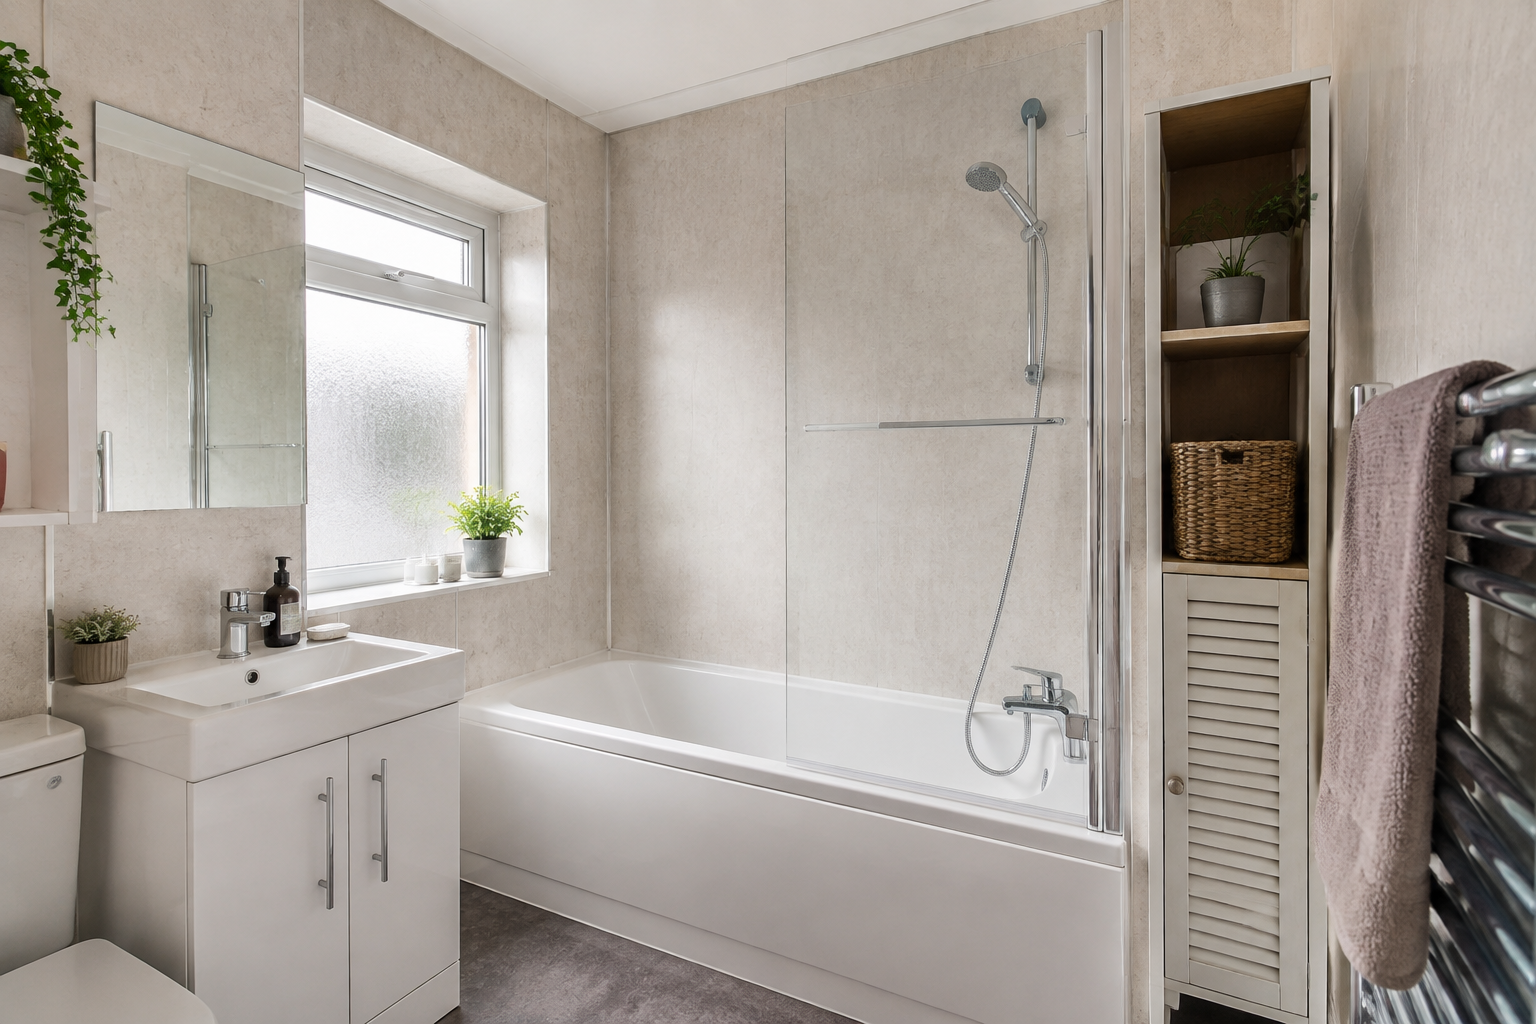
Start by identifying where water actually lands during normal use. The walls around a shower or shower-bath need a suitable wet-area finish. Other walls may remain painted if their condition and exposure make that appropriate. Do not choose the stopping point only because it looks balanced in a picture. Consider the shower head, screen position and the way the household uses the room. A measuring visit helps connect those practical details with the appearance you want. The result should protect the wet areas without assuming every dry wall must receive the same covering.
Use the Room Shape to Find an Edge
A corner, recess or the edge of a shower enclosure can provide a natural place to finish panels. An arbitrary stopping point in the middle of a wall may need a more visible trim. Look at that edge from the doorway and from inside the shower. Check whether the remaining painted strip will be wide enough to decorate and clean. A very narrow area trapped behind a screen can be awkward later. Planning the join early makes it easier to choose a neat detail instead of adding a finishing piece after the main layout has already been fixed.
Check the Difference in Surface Thickness
Panels, adhesive and any preparation behind them add depth. The new face may stick out beyond the adjoining painted wall or existing tiles. Ask how the exposed edge will be covered and whether the chosen trim suits the board thickness. Window surrounds, skirting and pipe boxing can make that change more noticeable. Do not assume all edge pieces are interchangeable. The exact system should provide an appropriate finish for the position. Seeing a sample of the trim beside the panel helps you judge both the colour and how much it will project into the room.
Prepare Painted Areas Properly
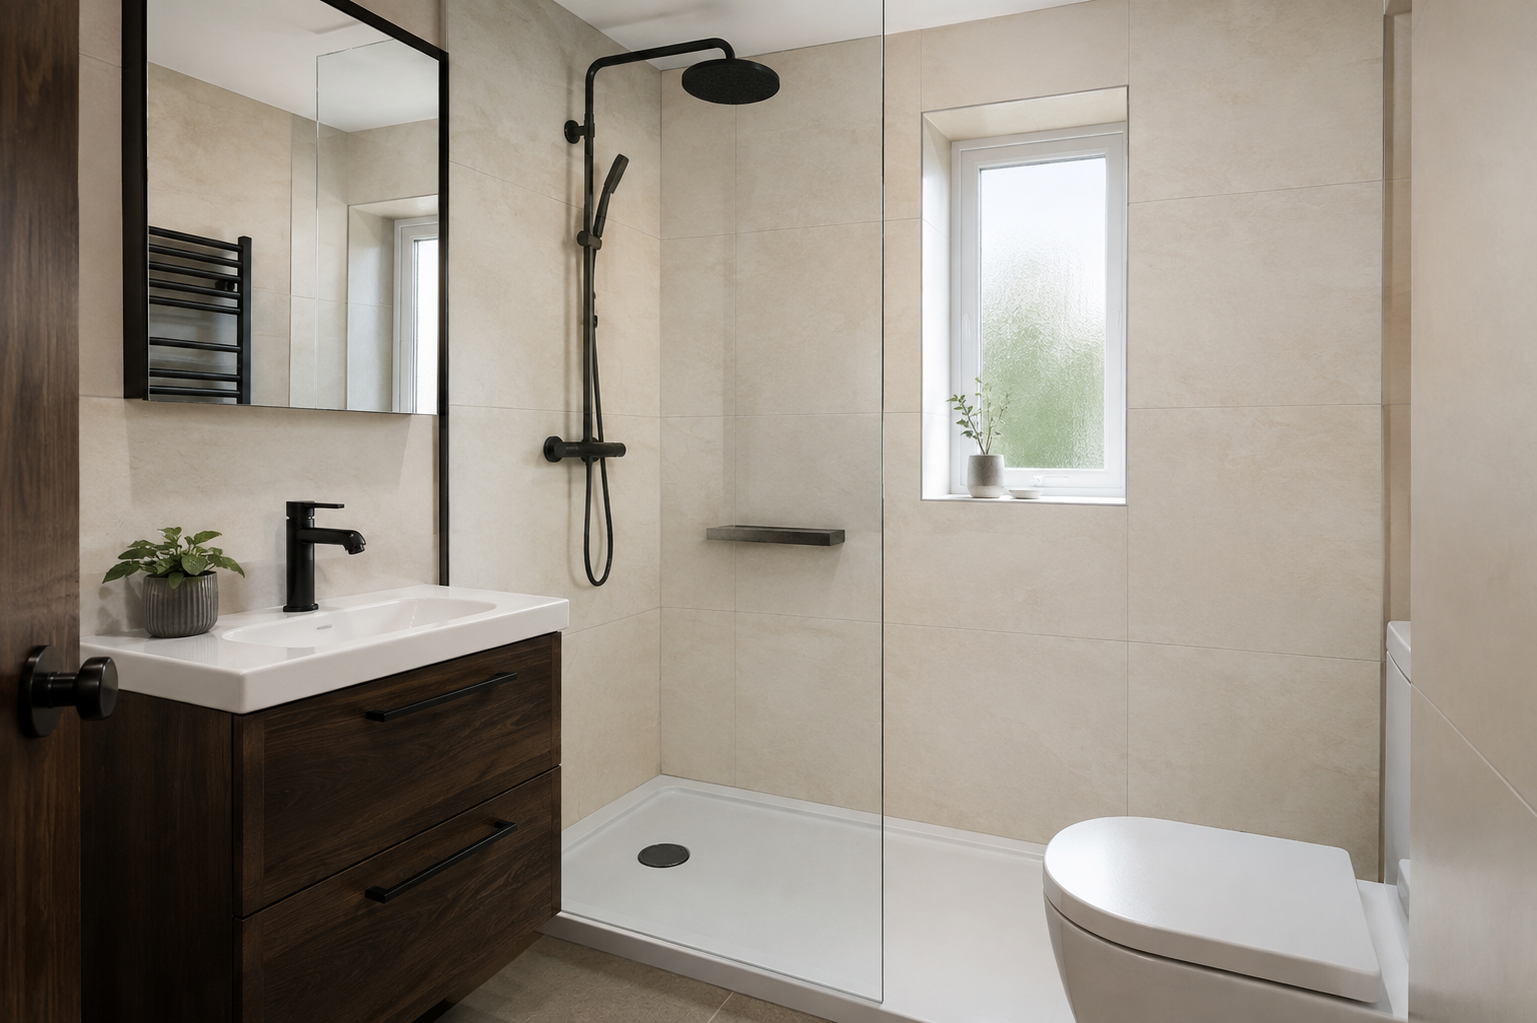
A painted wall still needs a sound surface. Loose paint, damp patches or damaged plaster should be dealt with rather than hidden beside the new panels. Use a coating suitable for the intended bathroom position and follow its preparation and drying instructions. A paint described for bathrooms is not automatically a replacement for a shower waterproofing system. Ask who is responsible for decorating and whether making good around the panel edge is included in the fitting quote. Keeping that responsibility clear avoids a finished shower surrounded by surfaces that still need unexplained extra work.
Coordinate the Colours and Patterns
The painted area can balance a strong marble, tile or terrazzo panel design. Compare paint samples with the actual board, floor and vanity under the room’s lighting. Whites can differ noticeably, so a close match may need more care than a deliberate contrast. Check a painted sample large enough to judge rather than relying only on a small colour card. If you expect to change the paint colour later, consider whether the panel and trim will work with several choices. A mixed finish can offer flexibility without requiring the bathroom panels to be replaced each time you redecorate.
Plan the Order of Fitting and Decorating
Ask the installer and decorator how their work will meet at the panel edges. Some preparation may need completing before panels are fixed, while final painting may follow the installation. Drying times and sealant requirements should be respected rather than compressed to meet an assumed one-day finish. Protect new surfaces during the remaining work. The quote or agreed plan should state who completes each stage and how the room will be left. That is especially useful where different people handle the panels, plumbing and decorating, because the join between their tasks is where omissions can occur.
Keep Moisture Under Control
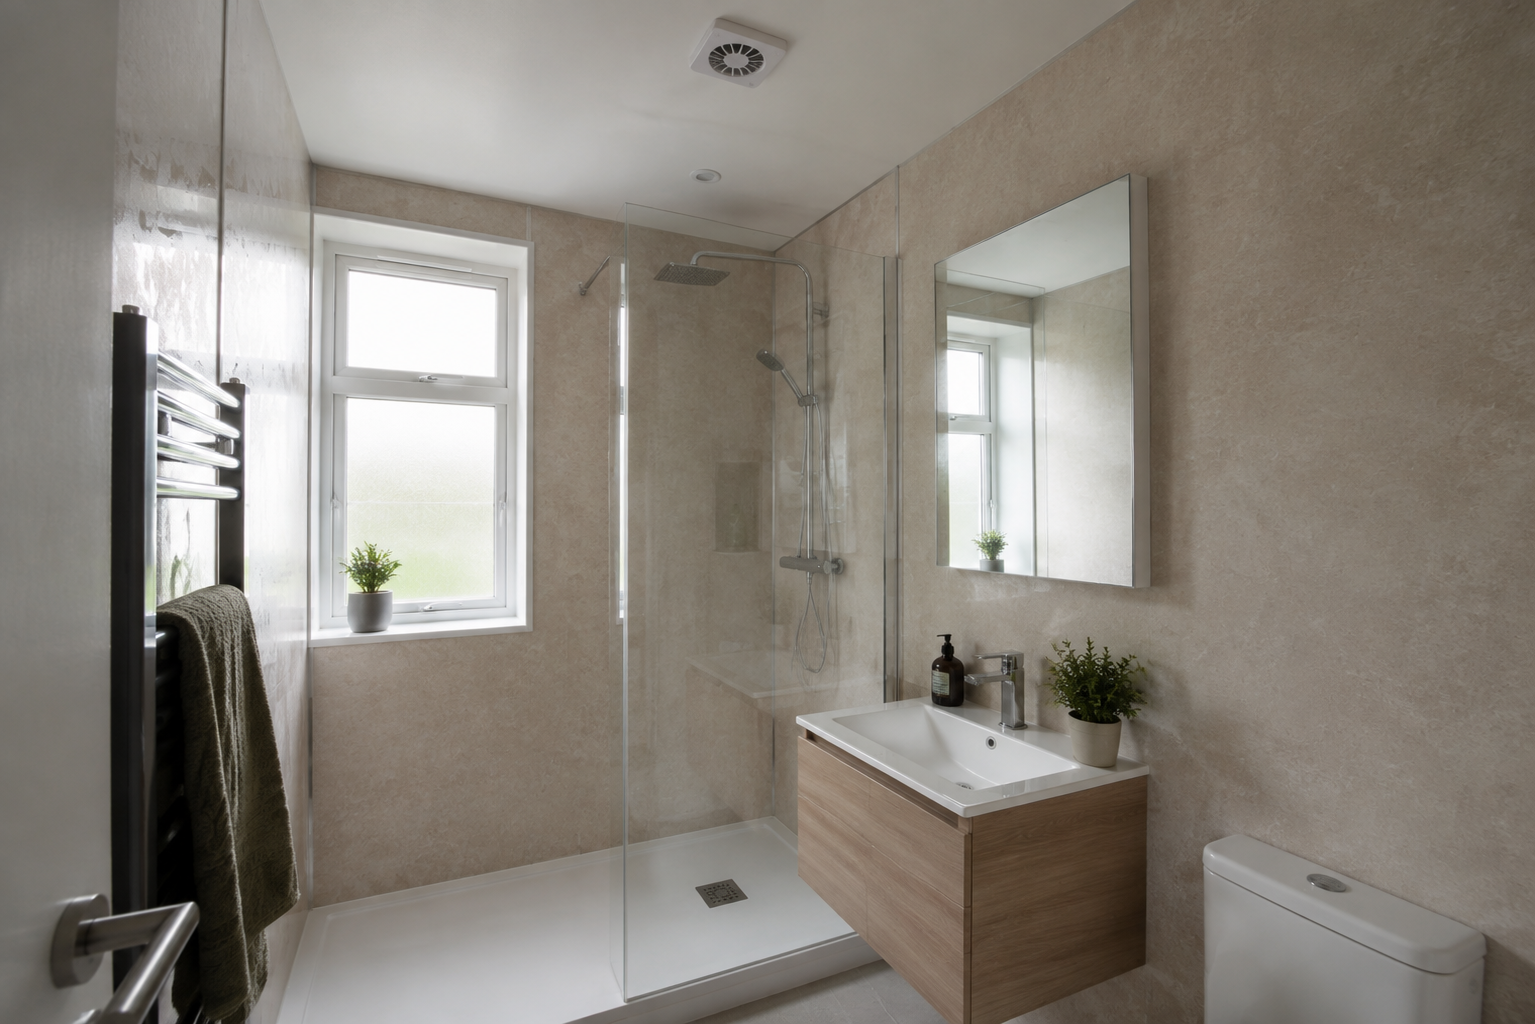
Panels do not stop a shower adding moisture to the air. Painted walls and ceilings can still suffer if extraction is poor or condensation is persistent. Check that the fan works and that air can move through the room as intended. If staining keeps returning, investigate the cause rather than repeatedly repainting over it. In an older Edinburgh flat, cold surfaces or an ineffective duct route may need professional attention. The choice between panels and paint is only one part of managing the room. Both finishes benefit from suitable ventilation and prompt attention to leaks.
Leave Access for Cleaning and Repairs
Think about how you will reach the painted wall beside the screen and the seal at the panel edge. A fixed cabinet or glass panel can make a small gap difficult to clean or repaint. Check access to plumbing valves and any removable boxing before covering it. Keep the panel range, trim details and paint reference for future work. If a fitting is changed later, the exposed wall behind it may not match the surrounding area. Discuss coverage behind furniture where practical, particularly if you are keeping a unit temporarily while planning to replace it later.
Agree the Mixed Finish in Writing
Mark the panelled walls, their height and the painted areas on the room plan. Name the trims, preparation and decorating work in the quote, along with any exclusions. Confirm which surfaces receive direct spray and how the chosen products protect them. A mixed finish can be attractive and practical when those details are clear. It should not leave you guessing where the installer will stop or what another trade must complete. Decide from the actual room, samples and fitting instructions so the final bathroom has a deliberate appearance and a clear maintenance routine.