How the Tile Effect Is Made
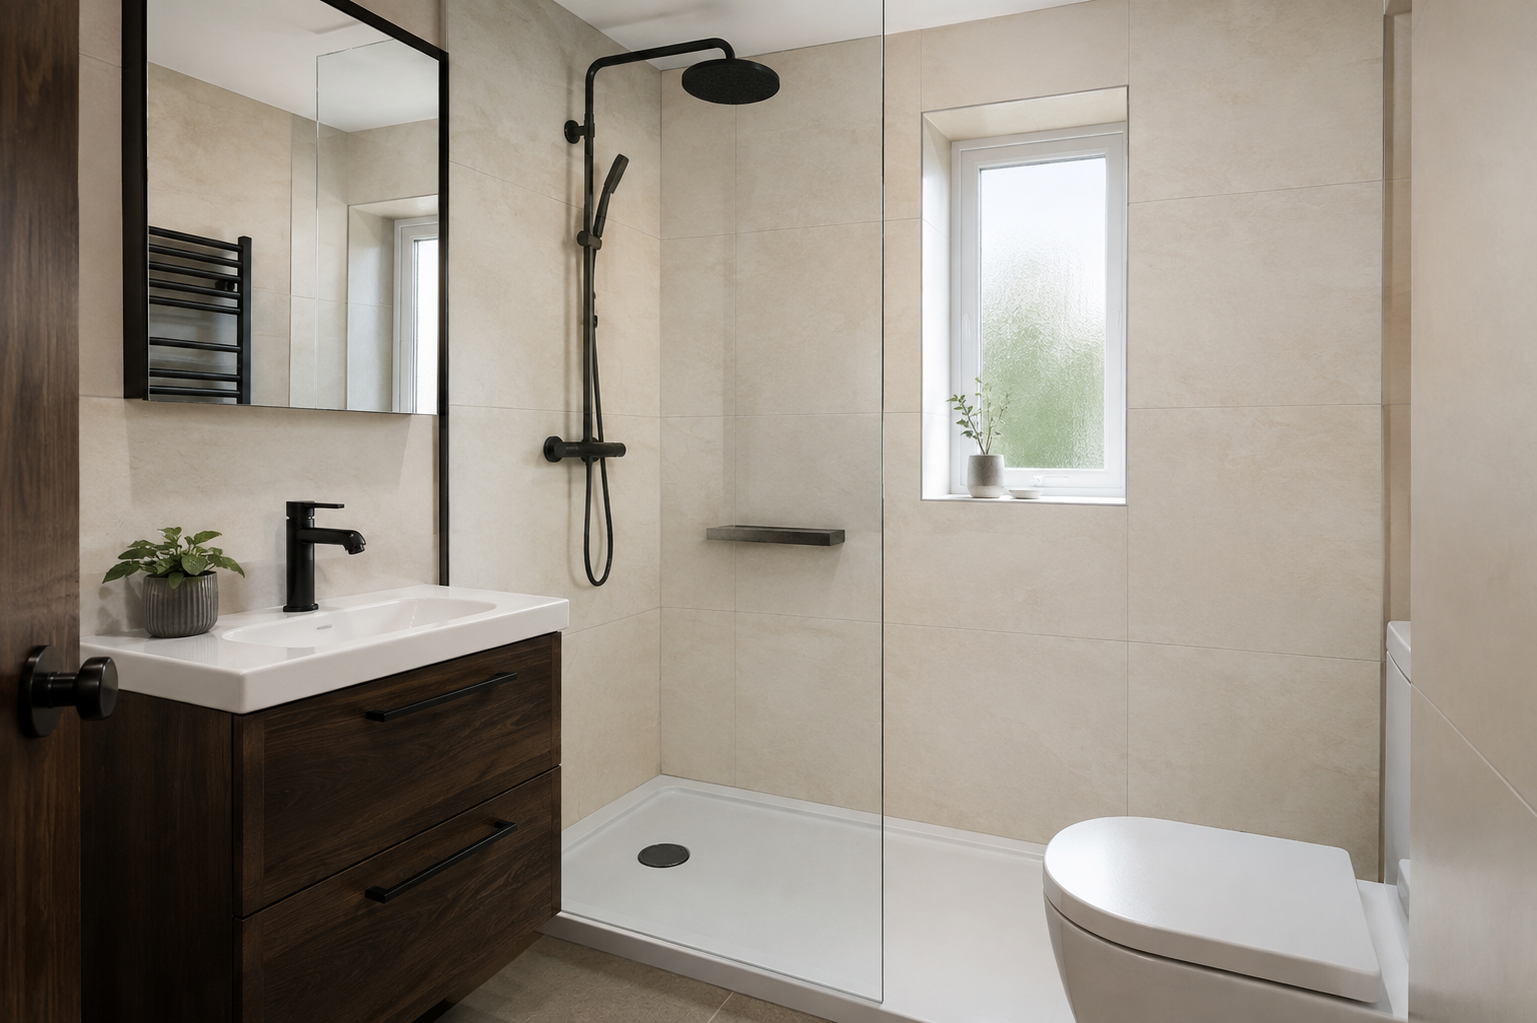
A tile-effect panel carries a printed or formed tile design across a larger board. The apparent tiles are not necessarily separate pieces with real grout between them. That creates the familiar look of a tiled wall while reducing the number of actual joints. Products vary, so inspect the sample to see whether the lines are flat, recessed or textured. Ask which parts of the finished wall are decorative lines and which are real board connections. Understanding that difference helps you judge the appearance and know where maintenance will still be needed.
What Grout-Free Does and Does Not Mean
The phrase grout-free usually refers to the absence of conventional grout between individual tiles. It does not mean a shower wall has no joints or needs no sealing. Panels still meet at corners and board edges, and they finish against a bath, tray, window or other surface. Those connections must follow the product’s fitting instructions. If the main attraction is less grout cleaning, look at the proposed trims and seals around the edges as well. They are fewer in number than a grid of tile joints, but they remain important parts of a watertight installation.
Choose a Tile Size for the Wall
A large tile print and a small brick pattern give different results on the same shower wall. In a compact room, count how many apparent tiles will be visible between the corners and fittings. Very narrow cut sections can look awkward even though the board itself fits correctly. A full-panel image is useful for checking the design at the right scale. Do not assume a larger printed tile always makes a room look bigger. Compare the pattern with the available wall width, the floor and the amount of furniture around it.
Check How Lines Meet at Corners
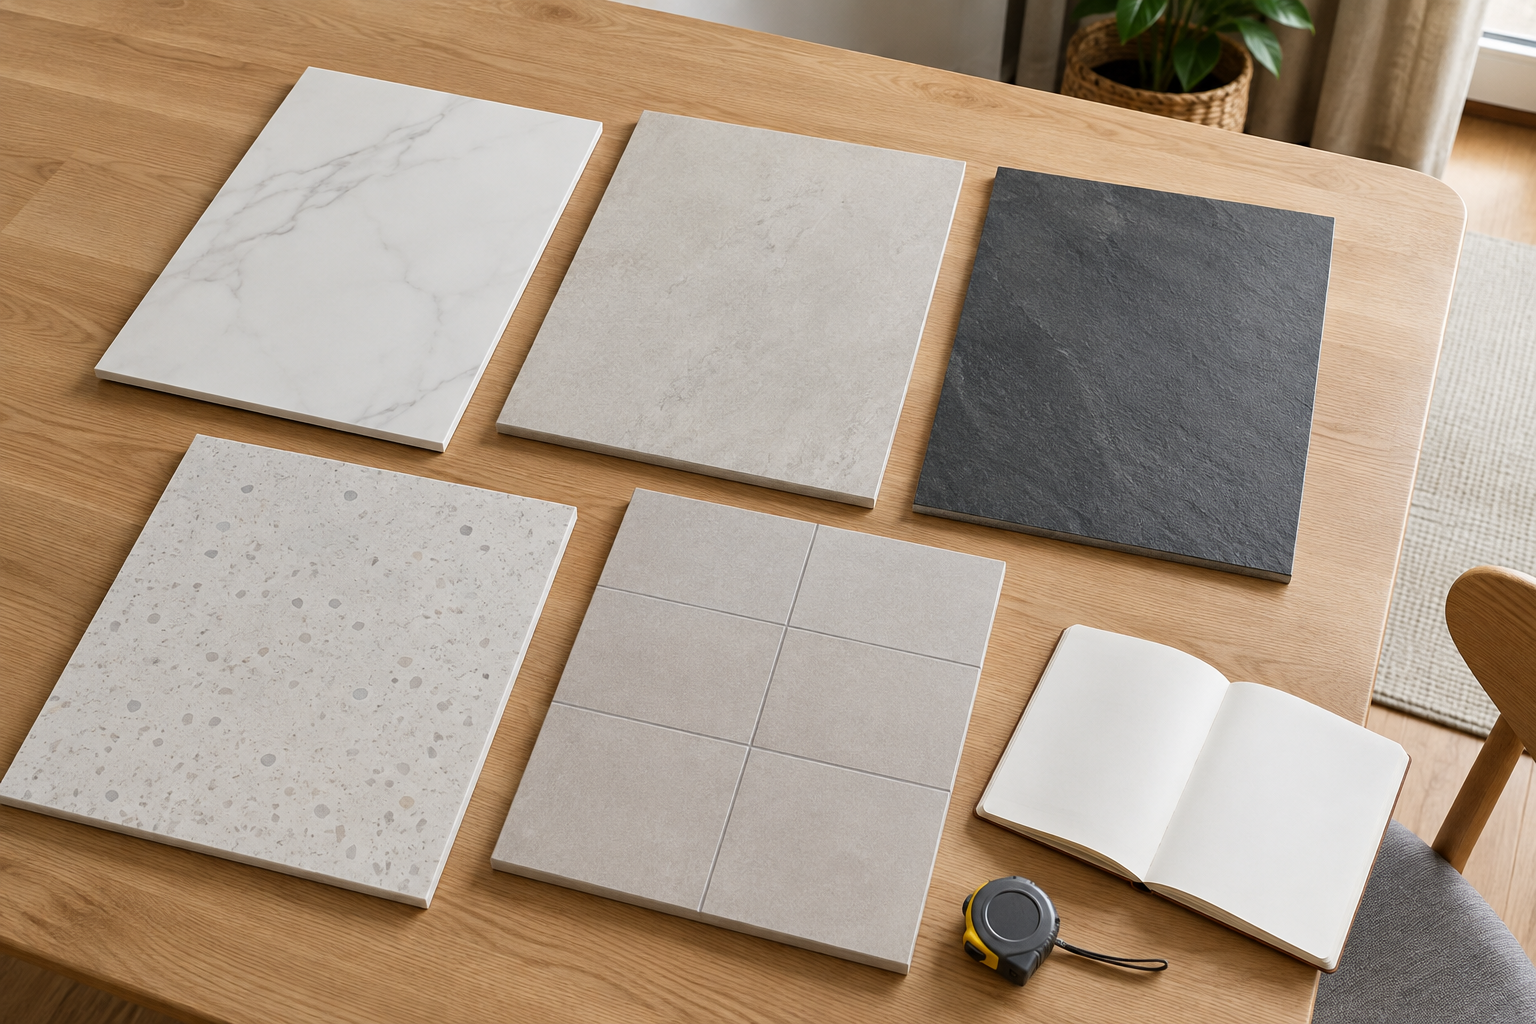
Horizontal and vertical lines are noticeable when they stop or step at a corner. Ask how the chosen range is intended to line up and whether board edges preserve the pattern. Windows, shelves and shower controls can interrupt the design too. The installer needs accurate measurements before deciding where cuts and joints should fall. A small adjustment to the starting point may improve the appearance across the whole wall. Make sure the layout is discussed before cutting, rather than leaving the pattern alignment to chance once the first panel has been fixed.
Compare Printed Joint Colours
A dark printed line can make the tile pattern much stronger, while a pale line may give a quieter result. Look at the sample beside the floor and screen frame. A bathroom with several strong grids, such as patterned floor tiles and a framed shower screen, can feel visually crowded if every surface has a contrasting line. That may be a look you enjoy, but it should be chosen deliberately. Compare the complete combination in your own lighting. Product names alone do not show how obvious the printed joints will be from the doorway.
Cleaning the Face and Real Edges
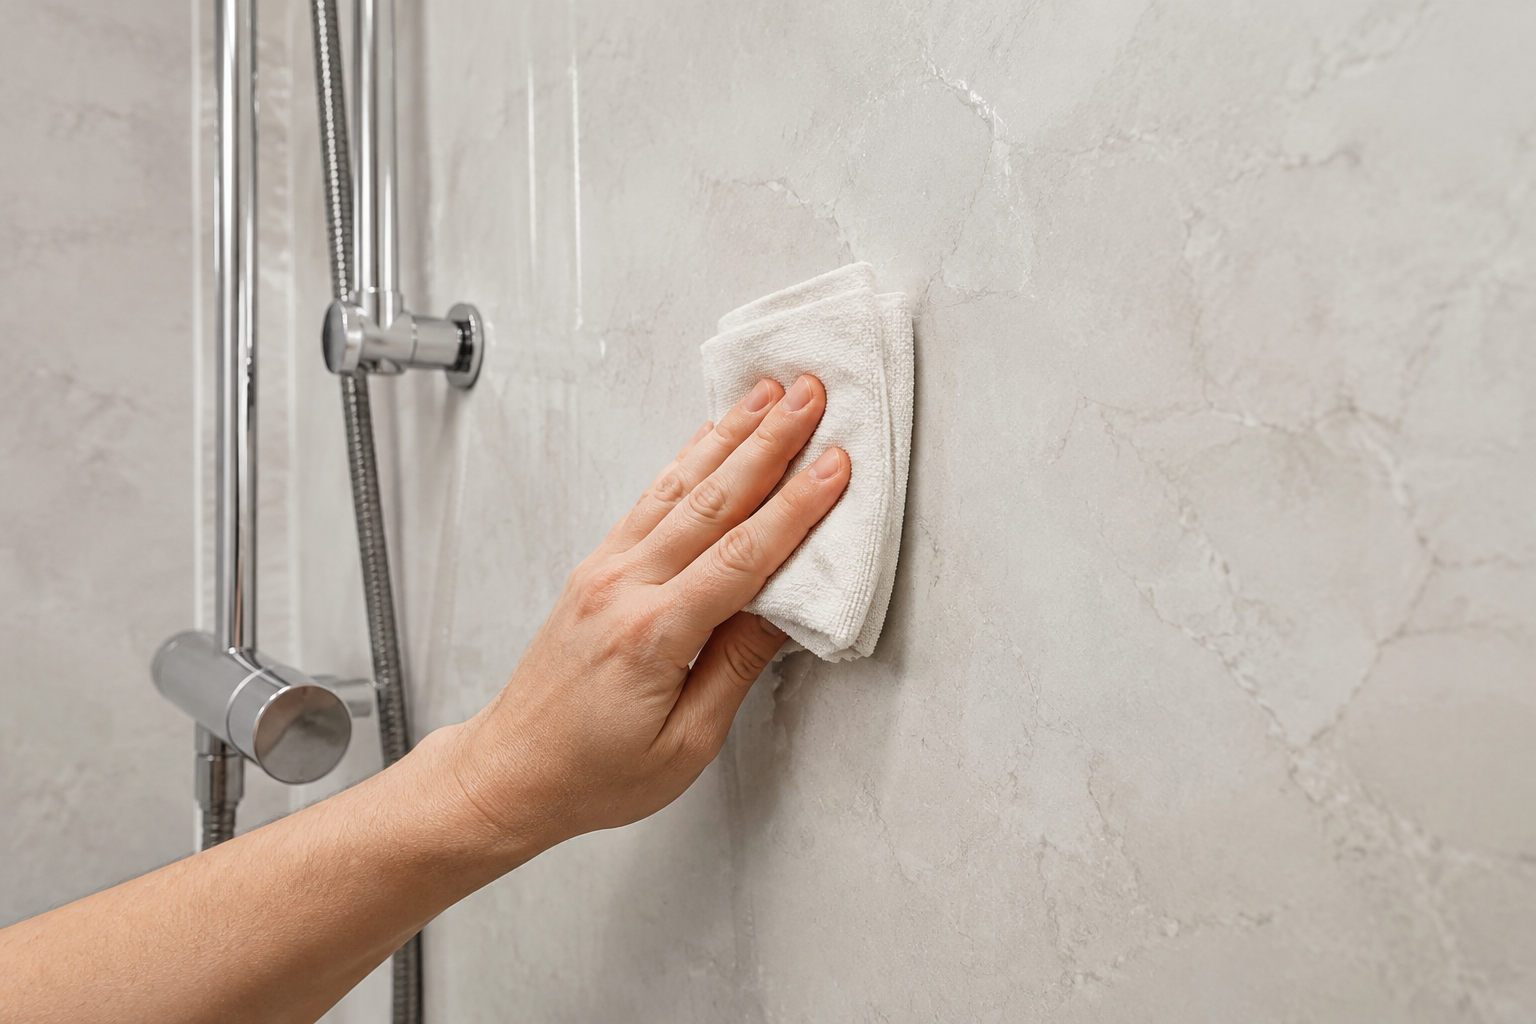
Follow the care guidance for the exact panels, including any restrictions on abrasive pads or cleaners. A smooth face is often straightforward to wipe, but soap residue still collects around taps, screens and lower edges. Textured or recessed tile lines may need a little more attention than a completely flat surface. Keep access to the corners when choosing furniture and screens. Check the real seals regularly for gaps or lifting. Easier cleaning is a practical benefit, but it should not be confused with never needing to maintain the shower wall.
Using Panels Beside Existing Tiles
You may want new tile-effect panels around the shower while keeping floor tiles or another tiled wall. Compare the colours and apparent tile sizes closely. Two similar designs can look mismatched if their whites, greys or joint colours differ slightly. A clear contrast may be easier to combine than an almost-match. Plan the edge where the materials meet, including any change in thickness. If panels will be fitted over existing wall tiles, the product instructions and wall condition must allow it. The decorative similarity does not establish that the surface is ready for installation.
Think About Repair and Replacement
Keep the product name, range and colour reference after fitting. If a board is damaged later, a replacement may need to match both the surface colour and the printed line positions. A discontinued range or a different batch can complicate that match. Ask how the panels connect and whether a damaged section can be removed without disturbing neighbouring boards or the screen. This is not a reason to rule out tile effects, but it is a useful question before choosing any large-board finish. Store spare material safely if you decide it is worth keeping.
Decide from Samples and a Fitting Plan
Bring the sample together with the floor, vanity and shower frame before placing the order. Confirm the panel joints, trim colours, coverage and pattern alignment on each wall. Ask for the product and preparation work to be named in the quote. Tile-effect panels can be a good choice when you like a tiled appearance but want fewer grout joints to clean. The best result comes from a design that suits the actual room and a fitting method that follows the chosen system, rather than from the grout-free label alone.