Understand What Walk-In Means for Your Room
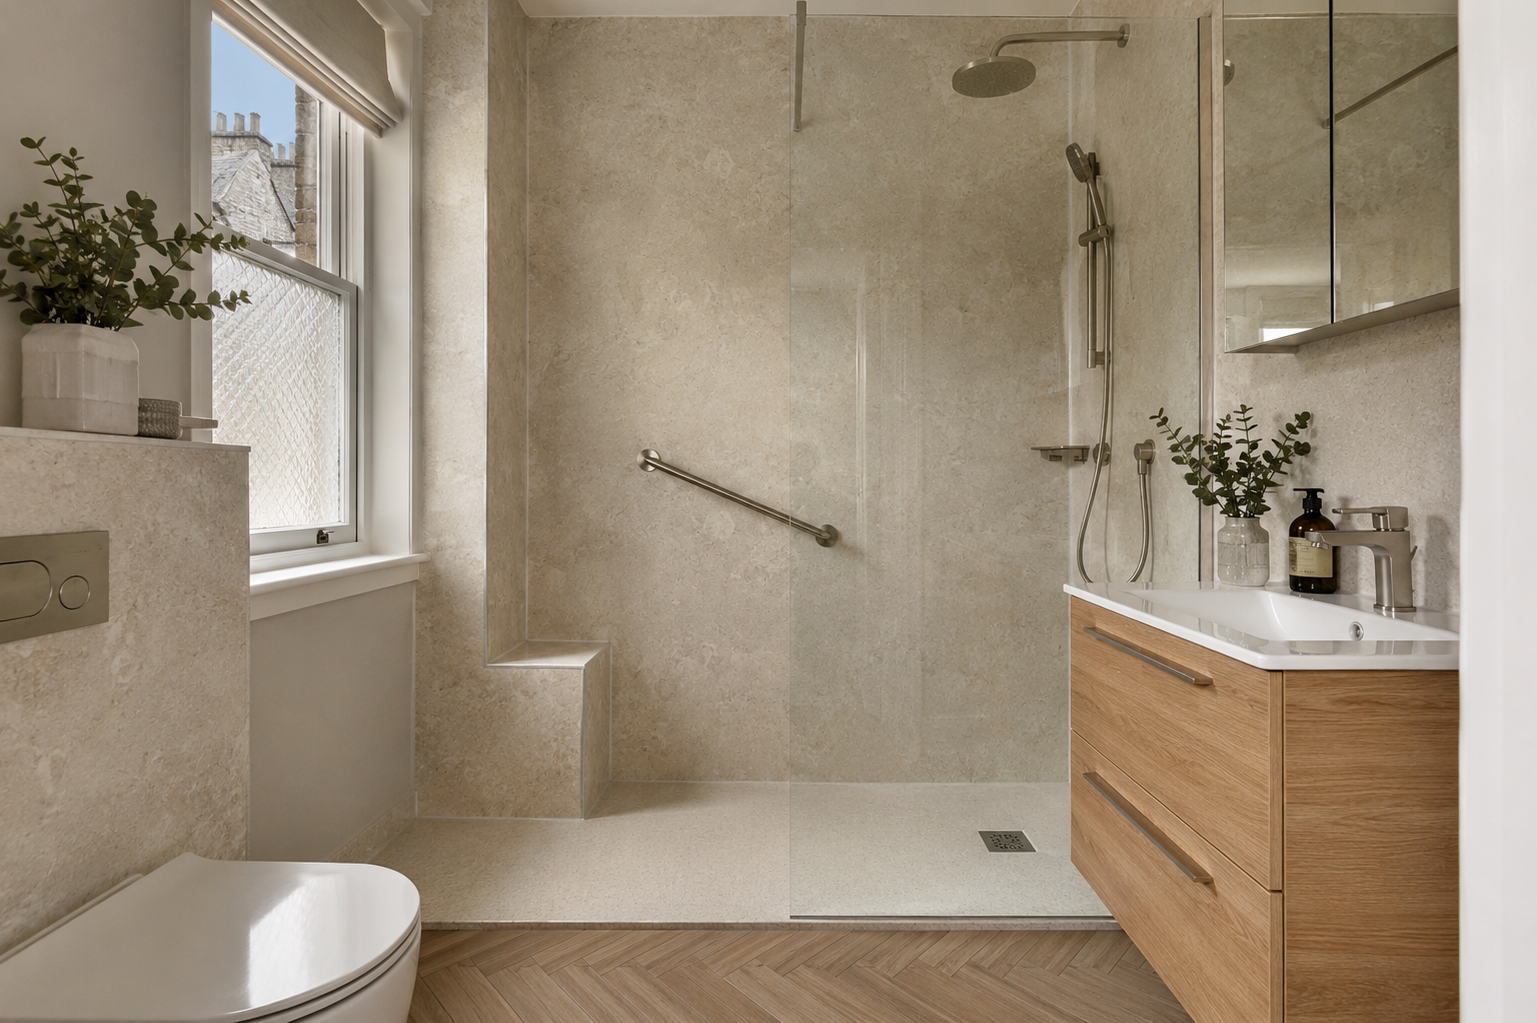
A walk-in shower usually has an open entrance rather than a conventional door, but the floor may still include a raised or low tray. A fully level wet-room floor is a different construction choice. Ask the fitter to explain which arrangement is proposed and why it suits the floor and drainage. Do not assume the label guarantees step-free access. The wall panels need to work with that specific arrangement. Start with entry, washing space and water containment before deciding which finish looks best in a photograph of a much larger bathroom.
Leave Enough Space to Enter and Turn
The screen should not create an opening that is awkward for the person using the shower. Check the space beside nearby furniture and whether a mobility aid or assistance is needed. A wide tray is not the same as a wide usable entrance. Mark the proposed screen and fitting positions during planning so you can picture movement through the room. If space is limited, compare alternative layouts rather than forcing an open shower into an unsuitable gap. Panel colour cannot correct a layout that leaves too little room to enter, turn or dry off comfortably.
Plan How the Screen Contains Spray
An open entrance needs careful thought about where the shower head points and where water can travel. Screen length, height and position should suit the actual layout. Nearby cupboards and the bathroom doorway should not be exposed to unnecessary spray. Ask whether the proposed tray or floor arrangement supports the design and how drainage will be handled. The panels protect the walls only when their system is correctly fitted; they do not make every adjacent surface suitable for regular soaking. Good water containment is a practical part of the design, not an optional finishing detail.
Fit the Panel System to the Shower Base
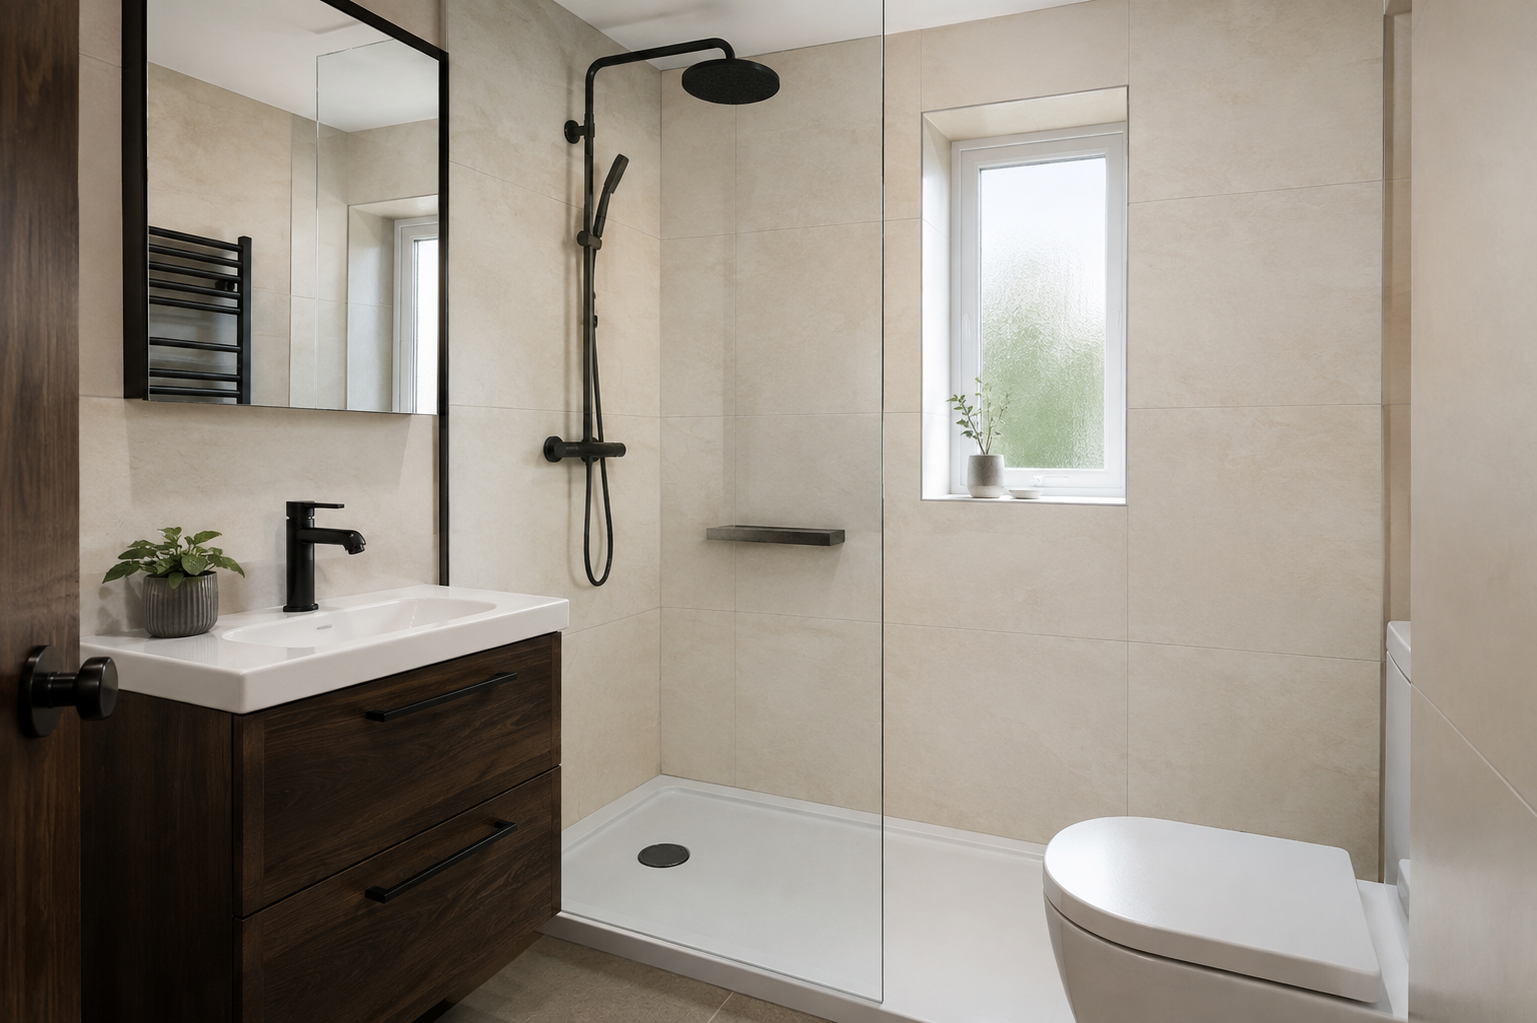
The connection between the wall panels and the tray or floor must follow the relevant product instructions. A wet-room floor may involve a waterproofing system beyond the panels themselves. Ask which components are being used and who is responsible for their compatibility. Do not assume that a waterproof board face provides all the protection needed behind and below the shower. The lower wall edges, corners and openings matter. The agreed plan should explain the construction clearly enough that you know what is being fitted, even though the technical installation belongs with a competent professional.
Put Controls Where They Are Useful
It should be practical to turn the shower on and adjust it without reaching awkwardly through the spray. The exact position depends on the shower system, room and user. Discuss it before the wall openings are made. If the controls or pipework move, the quote should include that work and any access needed behind the panels. Check the reach from a seated position if a seat is part of the plan. A tidy line of fittings is not enough on its own; the controls need to suit the way the shower will actually be used.
Plan Seats, Rails and Shelves Early
A support rail or seat needs suitable fixing behind the decorative wall finish. The panel alone should not be relied on to carry the load. Decide the positions with the user and, where appropriate, relevant specialist advice. Bottle shelves also need room without obstructing movement. Recessed storage requires appropriate construction and waterproof details, so it should be part of the original plan. Adding these items after fitting may mean reopening the wall or making new holes. Early decisions make it easier to provide useful support and storage without compromising the finished panels.
Choose Panels at the Scale of the Shower
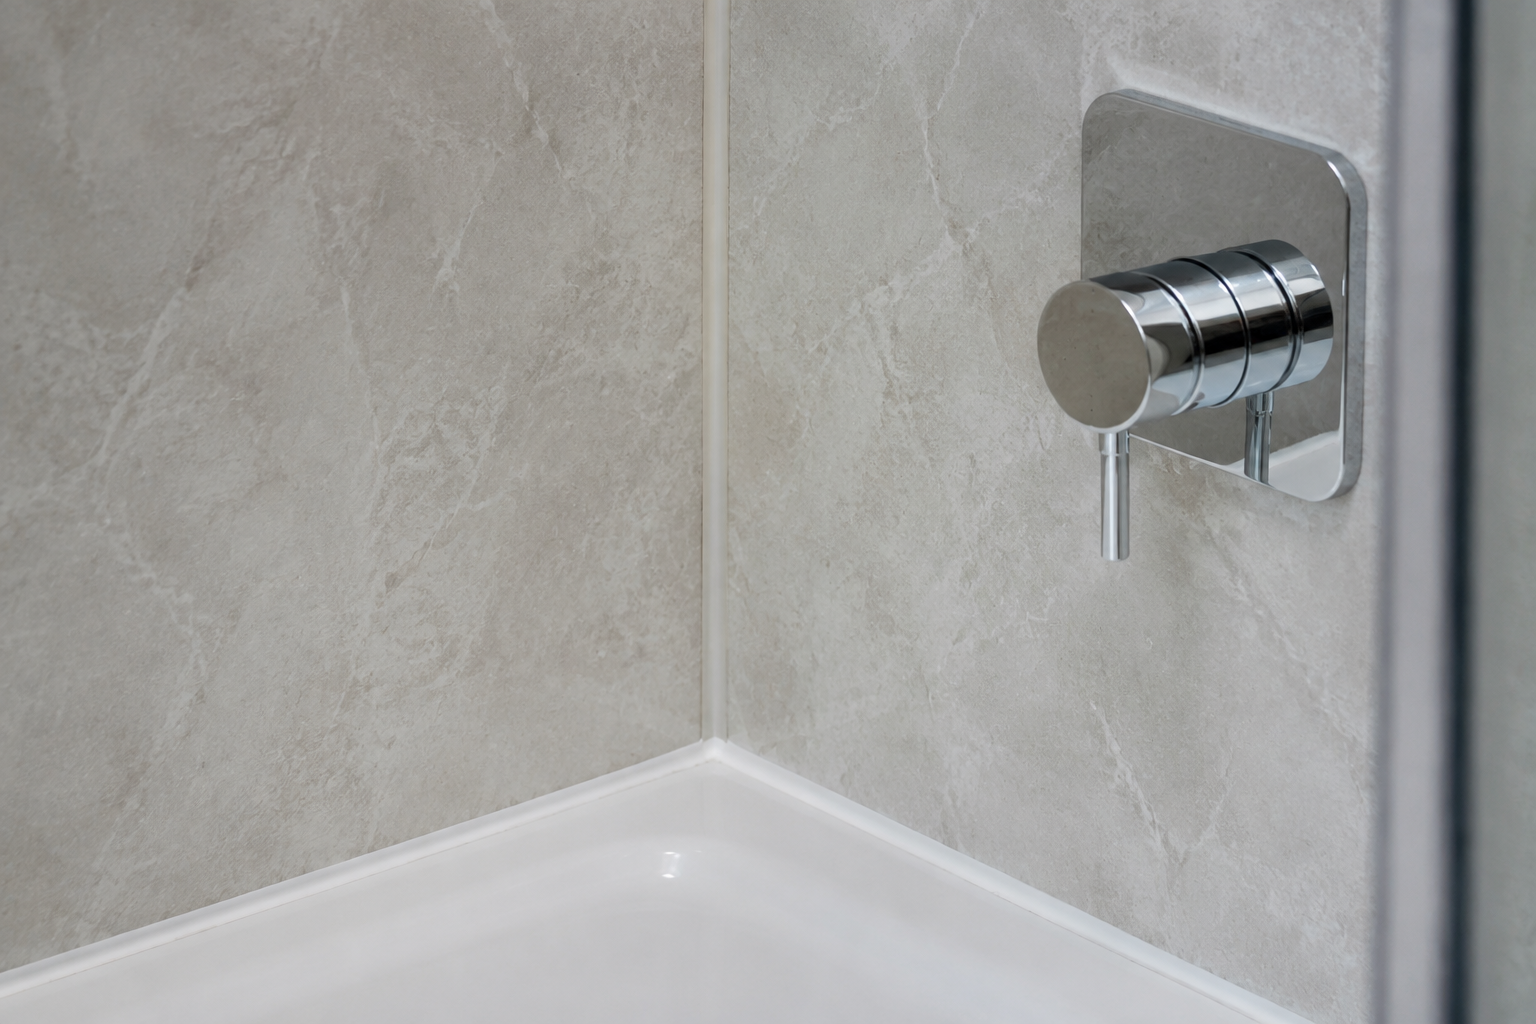
A large walk-in wall can show more of a marble or stone pattern than a small enclosure. In a compact room, the screen, controls and furniture may still interrupt most of it. Check a full-board image and the planned joins before ordering. Consider how the finish looks wet and under the bathroom lights, using the supplier’s samples and guidance. Plain or less busy designs can make shelves and fittings easier to see, while a darker panel gives more contrast. The choice should support the room’s use and appearance rather than follow a fixed rule about luxury showers.
Keep the Corners Accessible for Cleaning
An open shower can feel easier to clean, but fixed glass and close-fitting furniture may still create narrow gaps. Check whether you can reach the lower wall, screen seals and drain for routine care. Follow separate instructions for panels, glass and the shower base. Avoid assuming one cleaner is suitable for every surface. Look for damaged seals or water escaping beyond the planned area during normal use. If a problem develops, have the cause checked rather than adding sealant to whichever edge looks nearest. Maintenance is simpler when access has been considered before fitting.
Confirm What the Shower Quote Includes
The quote should name the tray or floor system, panels, screen, controls, drainage work and any support fittings. Check what preparation is included and how long the shower must remain unused after installation. At handover, review the controls, visible joints and agreed access with the fitter. Keep the care instructions and product references together. A successful walk-in shower is one you can enter comfortably, operate easily and keep clean, with water contained where it should be. The wall panels are an important part of that result, but they work alongside the rest of the planned installation.